Adding The Glass to The Cabinet Doors
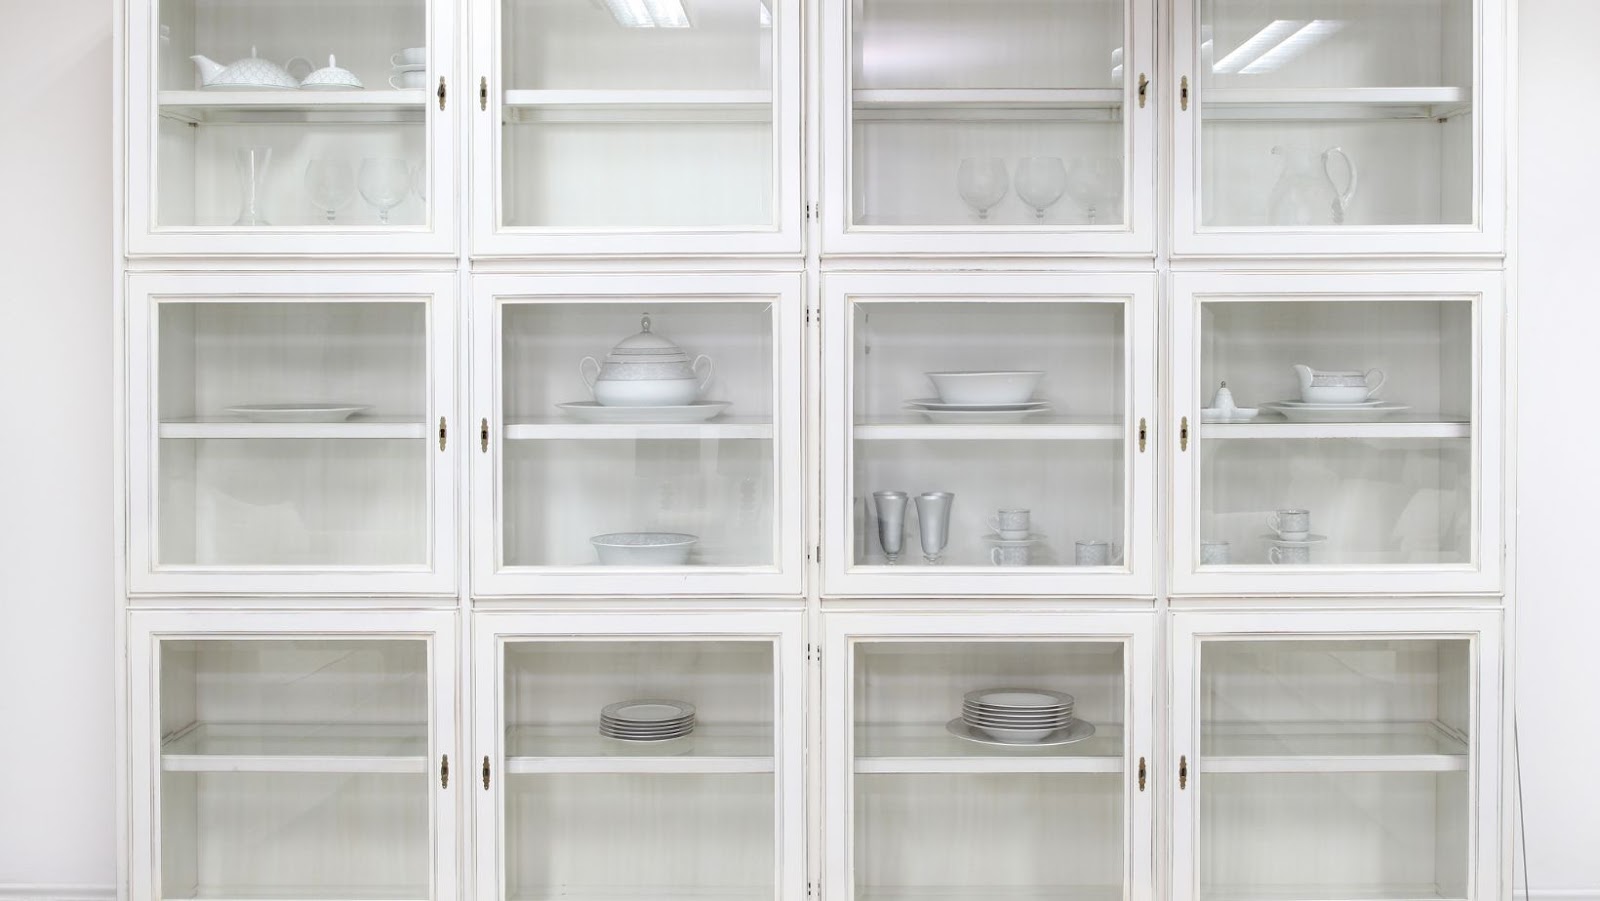
Adding glass to cabinet doors can instantly transform the look of your kitchen or living room. Here are the steps you can follow to put glass in cabinet doors:
Measure the cabinet door opening and purchase a glass panel that fits the dimensions of the opening.
Remove the cabinet door from its hinges and lay it flat on a work surface.
Use a drill and a 3/8-inch drill bit to create holes in each corner of the cabinet door opening.
Insert a jigsaw blade into one of the holes and cut along the lines of the cabinet door opening to create a rectangular hole.
Sand the edges of the hole with sandpaper to smooth out any rough spots.
Insert the glass panel into the hole and secure it in place with clear silicone adhesive.
Allow the adhesive to dry completely before reattaching the cabinet door to its hinges.
Adding glass to your cabinet doors will not only create a unique and aesthetically pleasing look but also allow you to showcase your favourite kitchen essentials.
How to Put Glass in Cabinet Doors
Installing glass panelling into cabinet doors is not as difficult as it seems. Before you begin, however, it is important to make sure you have all the necessary materials and tools at hand.
Make sure to collect and gather the glass cut to size, a jigsaw, screws, silicone, drills and bits, and any other items needed for the job. That way, you will have everything you will need and you can complete the task with ease.
Measure The Cabinet Door And Glass
Before starting the process of adding glass to a cabinet door, you will need to measure the cabinet door and the glass to determine the correct size of the glass panel. Here’s how you can do it:
1. Measure the cabinet door opening from inside edge to inside edge.
2. Subtract 1/8 inch from each measurement to ensure that the glass panel fits properly.
3. Take the exact measurements of the remaining space and order a custom-cut glass panel accordingly.
4. Gather the required tools and materials, including glass panel, silicone caulk, masking tape, a utility knife or glass cutter, and a measuring tape.
Once you have the correct measurements and have gathered all the necessary tools and materials, you can begin the process of adding the glass to the cabinet door by following the right steps. Pro Tip- Be extra mindful while cutting the glass to avoid any injuries.
Purchase Glass And Necessary Hardware
Adding glass to cabinet doors is a great way to update the look of your kitchen. Here’s what you need to gather before you start:
Materials: Glass (measured to fit your cabinet doors), Glass Retainer Strips, Clear Silicone Caulk, Painters Tape.
Tools: Screwdriver, Measuring Tape, Glass Cutter, Safety Goggles, Gloves.
Once you have all the required materials and tools, you can follow these steps to put glass in cabinet doors –
Remove the cabinet doors from their hinges.
Measure the dimensions of the cabinet opening and cut the glass to fit.
Place the glass into the cabinet opening and secure it by inserting glass retainer strips.
Carefully apply clear silicone caulk around the edges of the glass.
Use painter’s tape to protect the cabinet frame while the caulk dries.
Once the caulk is dry, reattach the cabinet doors to the cabinets, and you’re done!
Gather Necessary Tools (pliers, screwdriver, putty knife, etc.)
To add glass to cabinet doors, you will need the following tools and materials:
Tools:
– Pliers
– Screwdriver
– Putty knife
Materials:
– Glass panels
– Measuring tape
– Safety goggles
– Glazing points
– Glazing putty
Before starting the process, ensure that you have all these necessary tools and materials at hand. Having a properly equipped toolbox will make the installation easier and increase the chances of success. You will use the pliers to remove the old panes and the screwdriver to disassemble the cabinet doors. A putty knife is needed to apply the glazing putty to hold the new glass panel in place. Safety goggles are essential to protect your eyes while handling glass. Glazing points will be required to hold the glass firmly in the frame. Finally, you need the glass panels based on the cabinet door’s measurement so that the new panes fit perfectly into the frame. With all the necessary tools and materials at hand, you are now ready to start the installation process.
Pro Tip: Wear gloves to avoid getting cut by the broken pieces of glass.
Remove The Existing Panel From The Cabinet Door
If you want to change the look of your cabinet doors by adding glass panels, the first step is to remove the existing panel from the cabinet door. This process can be done fairly easily and quickly.
By following a few simple steps, you can have the existing panel removed from the cabinet door and begin the process of adding glass.
Remove Any Hardware (Hinges, Knobs, etc.) From The Door
Before putting glass in your cabinet doors, it is necessary to remove any hardware, including hinges, knobs, and other accessories, from the door. This will make it easier to work with the door and ensure that the hardware doesn’t get damaged during the process of adding glass to the cabinet door.
Follow these steps to remove the hardware:
- Using a screwdriver, remove any screws attached to the hinges or knobs of the cabinet door.
- Once all the screws are removed, gently pull the hardware away from the door.
- Store the hardware in a safe place for later re-installation.
Proceed with your glass installation process by removing the existing panel from the cabinet door and replacing it with the glass panel. After installation, reattach the hardware and enjoy your newly upgraded cabinets with glass doors.
Pro Tip: It is recommended to wear protective gear while working with glass, like gloves and safety glasses.
Use a Putty Knife or Chisel to Remove The Panel From The Door
If you’re looking to add glass to your cabinet doors, you first need to remove the existing panel. This can be done using a putty knife or chisel. Here’s how:
Use the putty knife or chisel to gently pry the panel away from the door. Be careful not to damage the surrounding wood.
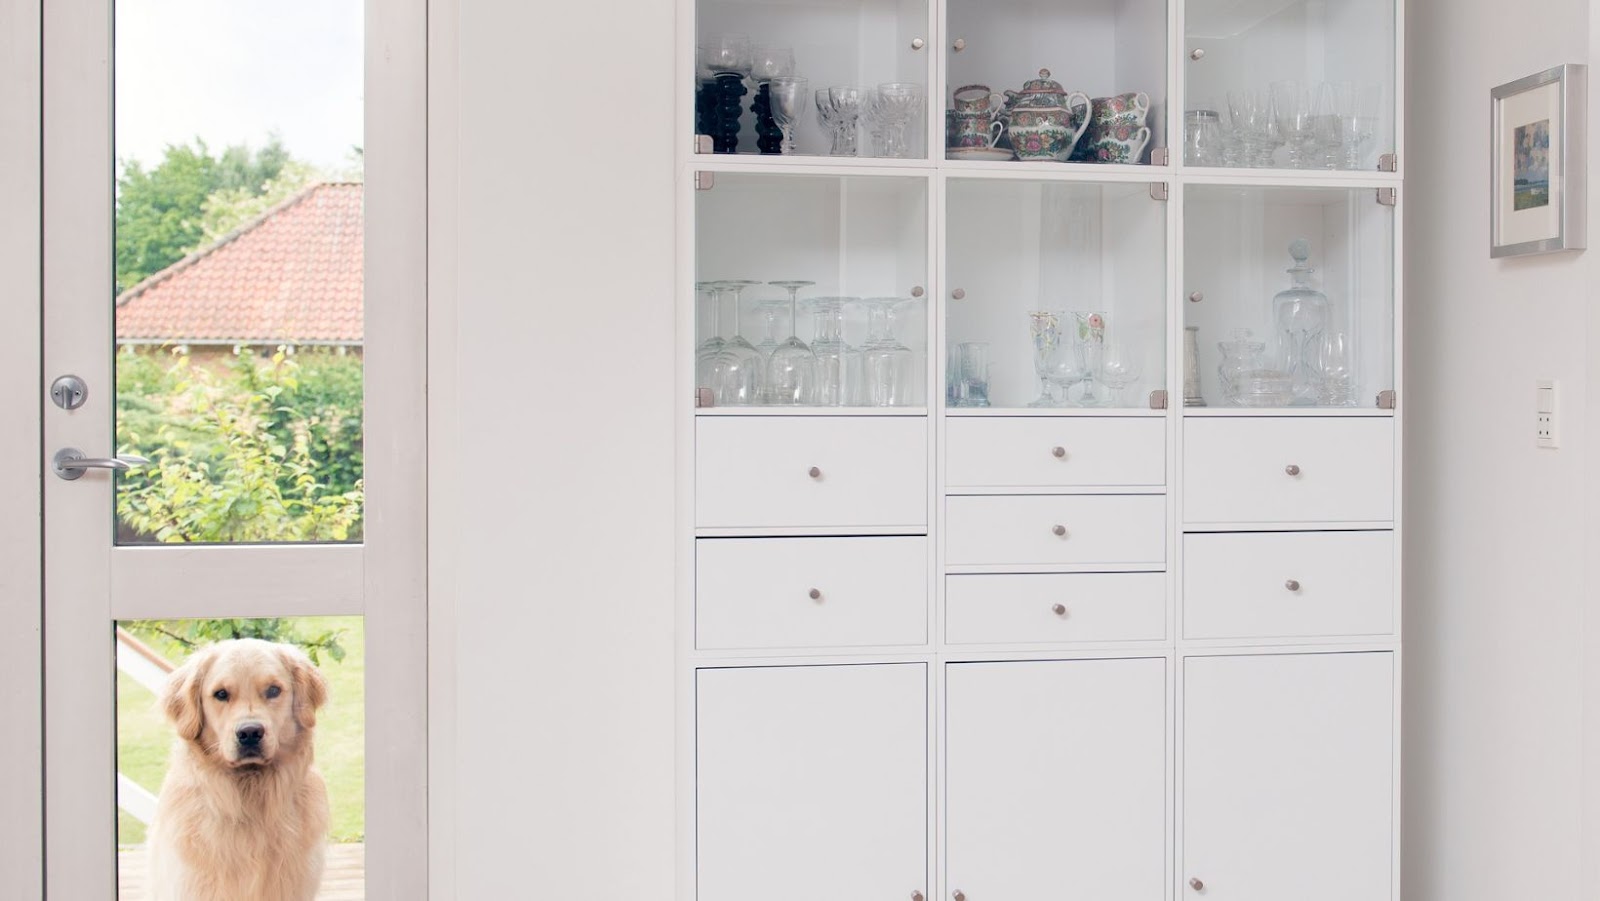
Once the panel is removed, sand the inner edges of the door to ensure a smooth, even surface for the glass.
Measure the dimensions of the opening and order your custom glass panels.
Once the glass panels arrive, simply place them inside the door frame and secure them in place with clear silicone caulk or another adhesive of your choice.
Pro Tip: Use caution when using sharp tools like chisels or putty knives to avoid injury. Wear protective gloves and eyewear whenever possible.
Sand Down Any Rough Edges or Leftover Adhesive
When adding glass to your cabinet doors, it’s crucial to ensure that the existing panel is removed and the edges are sanded down to give a smooth finish. Here are the steps you need to follow for How to Put Glass in Cabinet Doors:
Step 1: Remove the existing panel from the cabinet door using a drill or a hammer and chisel.
Step 2: Measure the dimensions of the panel, and purchase a piece of glass or plexiglass of the same size and thickness.
Step 3: Sand down any rough edges or leftover adhesive on the frame using a fine-grit sandpaper.
Step 4: Apply a small bead of silicone caulk to the frame’s inner edge, and place the glass into the frame.
Step 5: Allow the silicone caulk to dry for 24 hours, and then replace the cabinet door on its hinges.
By following these straightforward steps, you can add glass to your cabinet doors and give a new look to your kitchen decor.
Pro tip: Wear safety glasses and gloves while removing the panel or working with sharp edges of the glass.
Install The Glass Panel Into The Cabinet Door
Installing the glass panel into the cabinet door is an easy task with the right materials and tools. This guide will help you understand the process of installing the glass panel into a cabinet door step-by-step.
With the right preparations, you will be able to have a beautiful looking glass panel that will fit right into your cabinet door.
Clean The Cabinet Door Thoroughly
Before installing a glass panel into a cabinet door, it is important to clean the cabinet door thoroughly to ensure a tight and secure fit. Here are the steps to follow:
Remove the cabinet door from the cabinet frame and lay it on a flat surface.
Clean the cabinet door with a mixture of warm water and mild soap, using a soft cloth or sponge. Be sure to remove any dirt, grime, or debris from the door and its corners and edges.
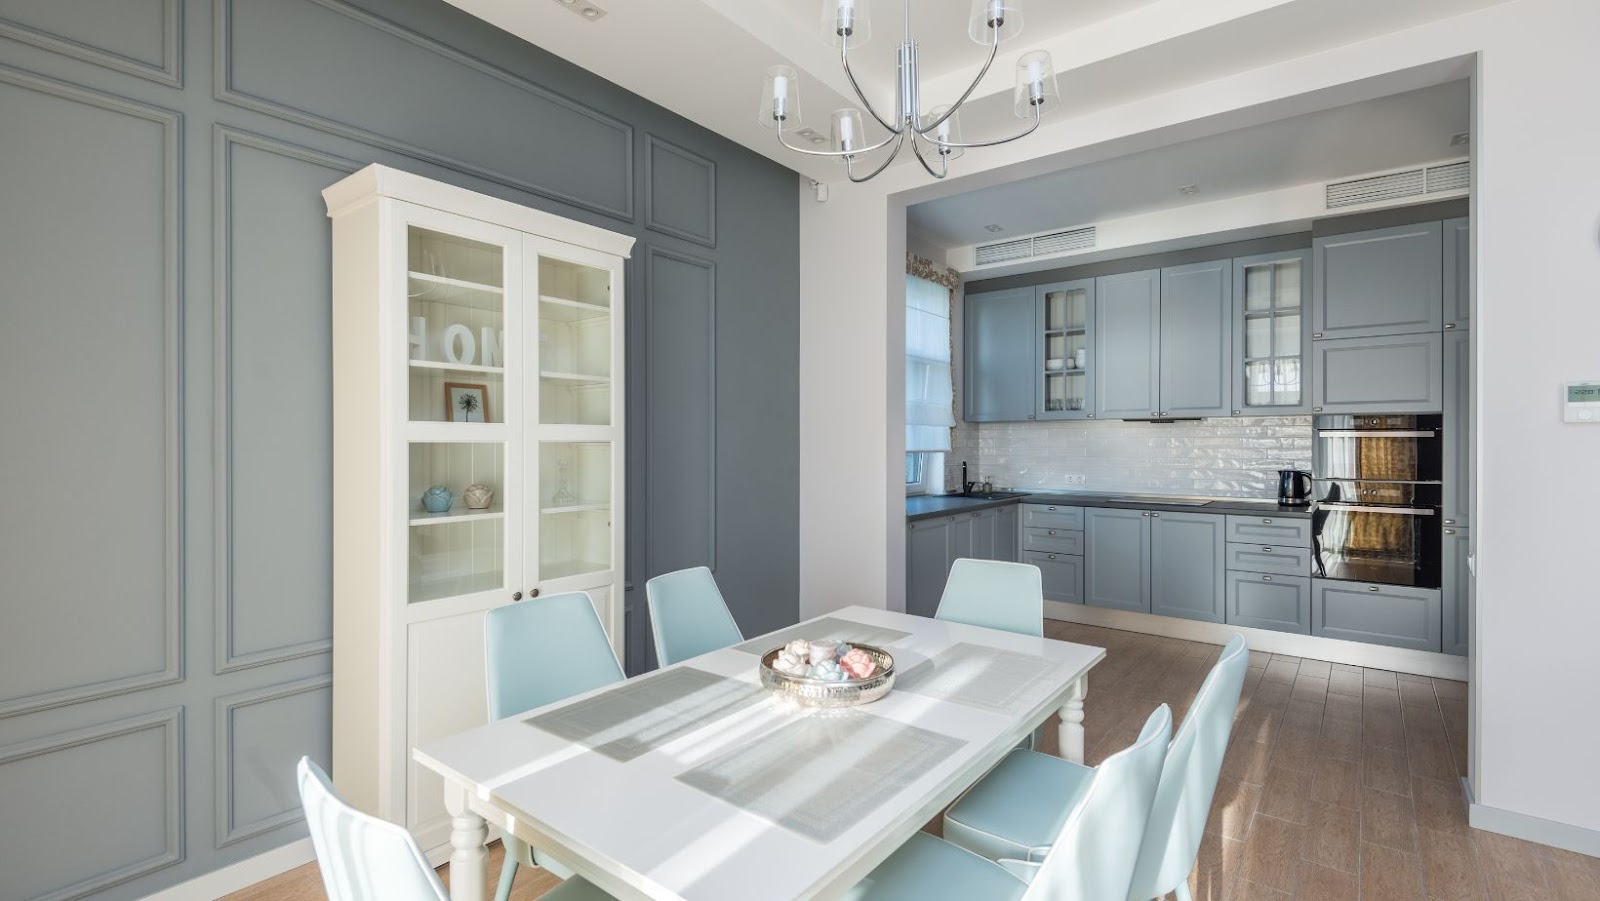
Dry the door with a clean, lint-free cloth.
Measure the dimensions of the panel opening on the door and purchase a glass panel of the same size.
Install the glass panel by using a clear silicone caulk or a glass panel retainer strip.
Reattach the cabinet door to the cabinet frame and enjoy your newly upgraded cabinet.
Place The Glass Panel Into The Opening
Adding glass panels to your cabinet doors is a great way to update the look of your kitchen while showcasing your dishware or glassware collection. Here are the steps to follow to install the glass panel into the cabinet door:
1. Measure the size of the glass panel and mark the dimensions on the cabinet door.
2. Create a groove into the inside edges of the cabinet door to hold the glass panel. Use a router to create this groove.
3. Carefully place the glass panel into the groove.
4. Use a glazing spline or a thin strip of wood to secure the glass panel into place.
5. Once the glass panel is secure, paint or stain the cabinet door to match the rest of your kitchen.
6. This process will breathe new life into your kitchen cabinets and give your kitchen a fresh, modern look.
Secure The Glass Using Panel Retainers or Silicone Adhesive
Adding glass to cabinet doors can create an elegant and sophisticated look in your kitchen. Here’s how to put glass in cabinet doors:
Step 1: Remove the cabinet door from the frame with a screwdriver.
Step 2: Measure and cut the glass panel to fit the dimensions of the cabinet door.
Step 3: Place the glass panel into the frame of the cabinet door.
Step 4: Secure the glass panel using panel retainers or silicone adhesive. Panel retainers can be easily screwed into the cabinet door frame to hold the glass in place. Silicone adhesive can be applied to the frame or directly to the glass to prevent it from moving.
Step 5: Allow the adhesive to dry completely before reattaching the cabinet door to the frame.
With these simple steps and either panel retainers or silicone adhesive, you can easily add glass panels to your cabinet doors and instantly elevate the look of your kitchen.
Reinstall Hardware And Hang The Cabinet Door
When adding glass to cabinet doors, a few key steps must be taken in order to ensure proper installation. First, the hardware must be reinstalled to the frame, including the hinges and door pulls, before the glass can be added.
After the hardware has been reinstalled, the next step is to hang the doors to the cabinet. In this article, we’ll walk through this process and show you how to hang the cabinet doors with glass installed.
Reattach Hinges or Knobs to The Door
Reattaching hinges or knobs to a cabinet door is a simple process that can be done by following a few basic steps. Here’s how you can reinstall hardware and hang a cabinet door:
Step 1: Remove the cabinet door from the frame by unscrewing the hinges.
Step 2: Clean the hinges and screws using a soft cloth and warm, soapy water.
Step 3: Hold the hinge in place on the door and use a drill or screwdriver to secure it into position.
Step 4: Repeat the process for the second hinge.
Step 5: If you’re installing new knobs or handles, use a measuring tape to determine the placement and drill holes into the door.
Step 6: Attach the knobs or handles using a screwdriver.
Step 7: Reattach the cabinet door to the frame by screwing the hinges back into position.
Adding glass to cabinet doors is also a simple task that can be accomplished with a few tools and materials. Here’s how you can put glass in cabinet doors:
Step 1: Measure the size of the glass panel needed and have it cut to size at a hardware or glass store.
Step 2: Remove the centre panel from the cabinet door frame, leaving only the outer frame.
Step 3: Sand the edges of the wooden frame to smooth any roughness or splinters.
Step 4: Apply a small bead of silicone caulk around the inside of the frame.
Step 5: Carefully place the glass panel into the frame, pressing it gently into the silicone caulk.
Step 6: Use small brad nails or wooden dowels to secure the glass panel in place.
Step 7: Apply wood putty to cover the nail or dowel holes and sand the edges smooth.
Pro Tip: When reattaching hinges or knobs to a cabinet door, use a strong and durable adhesive to prevent them from coming loose again in the future.
Hang The Door Back Onto The Cabinet
Once you’ve added glass to your cabinet door, it’s time to reinstall the hardware and hang the door back onto the cabinet. Follow these steps for a successful installation:
1. Hold the door in place and insert the screws through the mounting holes in the door and into the cabinet frame.
2. Tighten the screws until they are snug, but be careful not to overtighten.
3. Connect any hinges or other hardware that you removed during the glass installation process.
4. Double-check that the door swings properly and doesn’t rub or stick.
With just a few simple steps, you can successfully reinstall your cabinet door with its new glass insert. Happy organising!
Pro tip: Make sure to have a helper hold the door in place while you insert the screws to avoid any accidents.
Test The Door to Ensure it is Secure And Functional.
Before adding glass to cabinet doors, it is crucial to ensure that the door is secure and functional. Here is a simple step-by-step guide on how to reinstall hardware and hang the cabinet door:
Gather the necessary tools – screwdriver, drill, level, and measuring tape.
Remove the cabinet door from the hinges by unscrewing the screws.
Remove the hardware from the door and cabinet using a screwdriver.
Use the measuring tape to determine where the new hardware should be installed.
Drill a pilot hole to avoid splitting the wood, and install the hardware.
Hang the door back on the hinges, ensuring that it is level and secure.
Once the door is correctly installed, you can now proceed to add glass to the cabinet doors by following the proper steps. Pro Tip: Be sure to choose tempered glass for safety purposes.

 The Benefits Of Outdoor Sofa Deep Seating
  This Method has Been Used for Centuries
  The Different Types of Bonds
  Solar Panel Cost And Efficiency
  The Most Comfortable Deep Seating Outdoor Furniture
  Maintaining Your Glass Cabinet Doors