Building The Deck Frame
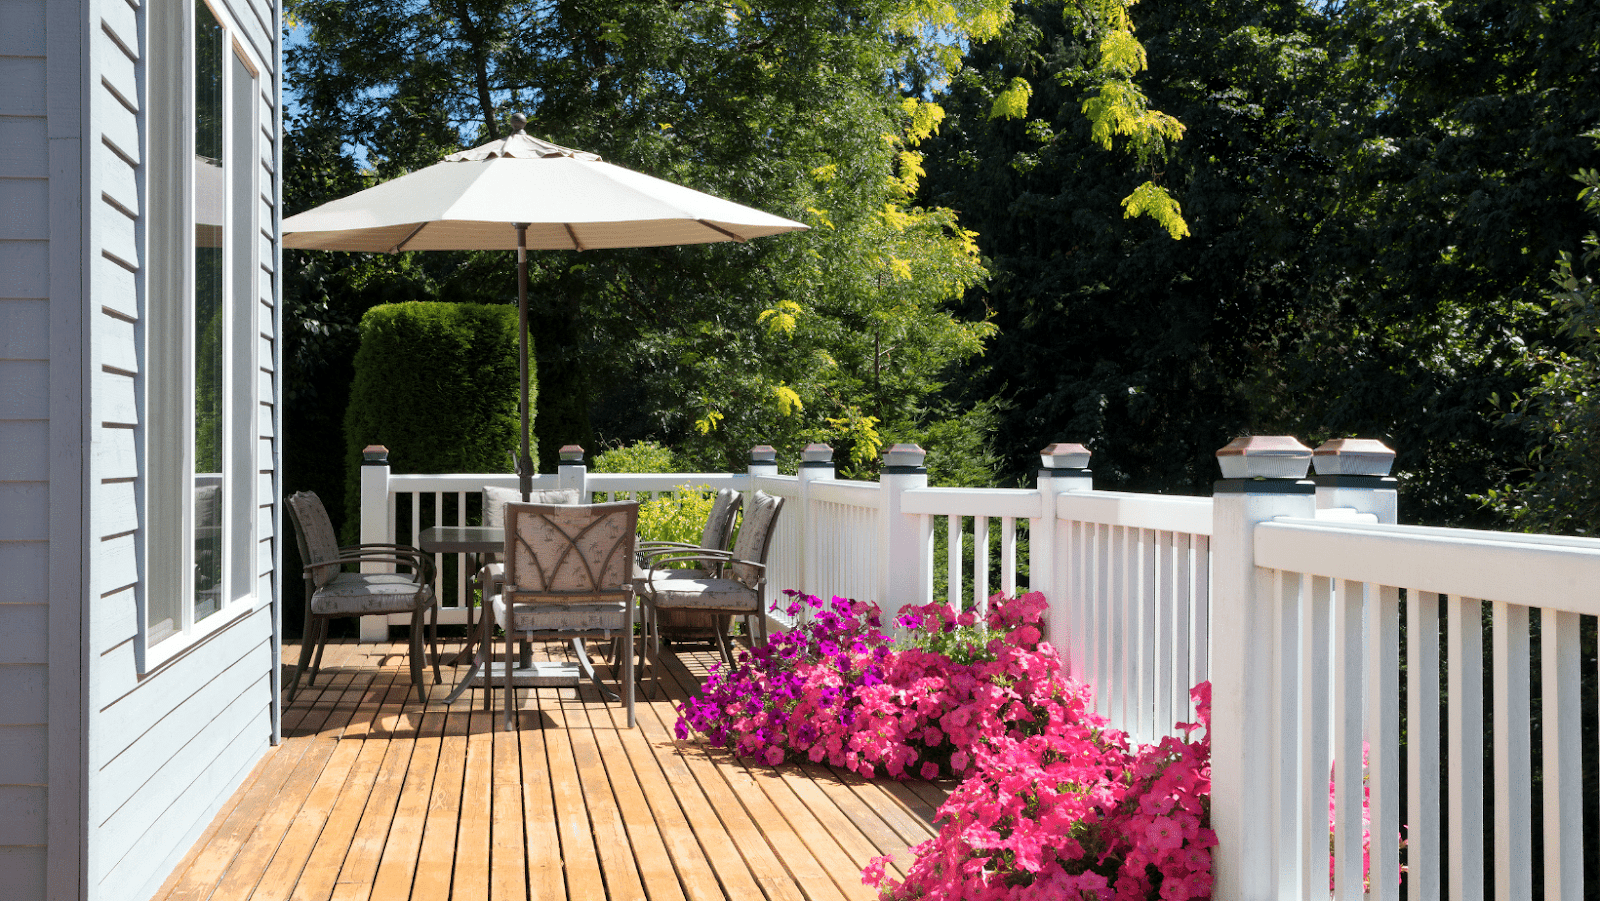
Are you facing difficulty in building your dream deck? With this article, you will learn how to construct a floating deck frame that is sure to bring your outdoor space to life!
Follow our step-by-step instructions, and you’ll have the perfect platform for entertaining or relaxing with your family.
Introduction
Building a deck frame is an essential step in constructing a floating deck in your outdoor space. It forms the foundation on which the deck boards are placed and helps to distribute the weight evenly. A well-constructed deck frame ensures the stability and longevity of your deck, and it may seem like a daunting task for beginners. However, with the right materials and tools, it is a manageable DIY project.
Here are a few key steps to follow while building the deck frame:
1. Plan the size and shape of your deck before purchasing materials.
2. Use pressure-treated lumber for the deck frame to prevent rotting and decay.
3. Use concrete deck blocks for each corner to keep the deck floating just above the ground.
4. Install beams and joists following the standard building codes.
Building a deck frame requires accuracy and patience, but it can be a rewarding project for those who want to add value and comfort to their outdoor space.
Benefits of Building a Floating Deck
Building a floating deck has many advantages, including affordability, versatility, and ease of installation, which make it a popular choice among homeowners.
Here are some benefits of building a floating deck:
- Cost-effective: A floating deck is cheaper to build than a traditional deck since it requires fewer materials and no footings or posts, making it a budget-friendly option.
- Easy to install: Since a floating deck doesn’t require digging or pouring concrete footings, it’s easy to install and can be completed in just a few days.
- Versatile: You can build a floating deck in any shape or size to fit your yard’s unique layout and design.
- Low-maintenance: A floating deck requires minimal maintenance since it’s not attached to your house and doesn’t require any complex repairs or upkeep.
Building a floating deck frame is easy and straightforward, and it’s a DIY project that requires minimal experience and tools. Pro tip: Before you start building a floating deck, check with your local building department for any permits or regulations that may apply to your area.
Materials Required
Building a floating deck frame requires a few essential materials that include:
1. Pressure-treated lumber: This wood resists rot and decay and is necessary for building an outdoor structure like a deck.
2. Concrete deck blocks: These are used as the foundation for the floating deck and should be spaced at equal intervals to support the frame.
3. Joist hangers and nails: These are used to attach the deck joists to the support beams and ensure a secure foundation.
4. Galvanized screws: These are used to attach the deck boards to the frame and create a stable deck surface.
5. Measuring tape and speed square: These tools are essential for measuring and marking the wood for precision cuts and angles.
With these materials in hand, building a floating deck frame can be a hassle-free and enjoyable process for all DIY enthusiasts.
Step-by-Step Guide to Building The Deck Frame
Building a sturdy deck frame is essential for the safety and longevity of your outdoor space. Here is a step-by-step guide on how to build a deck frame for your floating deck.
1. Measure and mark the area where you plan to build the deck using stakes and string lines.
2. Dig holes for the concrete footers and place them at least 6 inches below the frost line.
3. Insert metal post anchors into each footer and secure them with bolts.
4. Cut pressure-treated lumber for the deck frame joists and secure them to the post anchors using galvanized metal joist hangers.
5. Install perimeter beam and cross beams and secure them with metal brackets and screws.
6. Install decking boards using screws or nails, leaving a gap of at least 1/8 inch between each board.
7. Add railing posts, railings and steps as per your preference.
With these steps, you can build a solid deck frame for your floating deck that will last for years to come.
Tips And Tricks For a Successful Deck Frame
Building a deck frame is an essential step in creating a sturdy and long-lasting deck that will provide years of outdoor enjoyment. Here are some tips and tricks to help you build a successful deck frame:
1. Choose the right materials: Use pressure-treated lumber or rot-resistant wood for your deck frame to ensure it lasts for many years.
2. Get the right measurements: Take accurate measurements of your outdoor space and ensure the deck frame is square and level for a stable structure.
3. Use proper hardware: Use metal brackets, screws, and anchors to secure the deck frame to your home’s foundation or support posts properly.
4. Plan for drainage: Ensure your deck frame is slightly sloped and includes adequate drainage gaps to prevent water buildup and rot.
5. Consider a floating deck design: A floating deck is a deck frame that’s not attached to your house or any other structure, allowing it to “float” on the ground. This can be a cost-effective and straightforward option for a DIY deck project.
Keep these tips and tricks in mind as you plan and build your deck frame for a successful and long-lasting outdoor space.
How To Build A Floating Deck
Building the deck frame of a floating deck can be an exciting DIY project, but it’s essential to avoid common mistakes that can compromise the integrity and safety of your deck.
Here are some common mistakes to avoid when building the deck frame:
- Neglecting to prepare the ground properly by ensuring that the soil is graded and leveled to prevent sinking or shifting.
- Failing to use reliable deck frame materials, such as pressure-treated wood or composite decking, which are resistant to insect damage, rot, and decay.
- Using the wrong measurements or proportions, which can result in uneven deck boards, instability or awkward gaps and overhangs.
- Not securing the deck frame with the right kind of hardware, such as galvanized screws or metal joist hangers, which can cause the deck to sway or collapse.
By avoiding these common mistakes, you can ensure that your floating deck will be a safe, sturdy, and long-lasting addition to your home’s outdoor living space.
Finishing Touches
After building the deck frame for your floating deck, it’s time to add the finishing touches that will make your deck feel complete and ready to use.
Here are some final steps to take before enjoying your new backyard oasis:
Sand the rough edges of the deck frame and any exposed wood surfaces until they are smooth to the touch.
Stain or paint the deck frame with a weather-resistant finish to protect it from the elements and give it a polished look.
Add skirting to the outer edges of the deck frame to conceal the supporting structure and add a decorative touch.
Install handrails for safety and to comply with local building codes if your deck is elevated.
Finish the space with comfortable outdoor furniture, potted plants, and string lights to create a relaxing atmosphere.
With these finishing touches, your floating deck is now complete and ready for entertainment, relaxation, and quality time with loved ones.
Conclusion
In conclusion, building a floating deck frame requires careful planning and execution of the steps involved. To recap:
1. Determine the size and location of your deck, and obtain any necessary permits.
2. Clear the site and level the ground.
3. Build a beam and post structure to support the deck frame.
4. Attach the frame to the beams and posts, securing it with hardware and lag bolts.
5. Install joists perpendicular to the frame, spacing them evenly.
6. Cut and lay deck boards across the joists, leaving a small gap between each board.
By following these steps and using quality building materials, you can create a sturdy and durable deck that will provide years of outdoor enjoyment.

 The Benefits Of Outdoor Sofa Deep Seating
  This Method has Been Used for Centuries
  The Different Types of Bonds
  Solar Panel Cost And Efficiency
  The Most Comfortable Deep Seating Outdoor Furniture
  Maintaining Your Glass Cabinet Doors