Tips & Tricks For DIY Planters

Too busy to go out and buy planters? Worried about your plants not getting enough care? You’ll be happy to know that DIY planters are easy to make and cost-effective.
In this blog, you’ll learn tips and tricks for making stunning tin can planters for your home garden. Get ready to freshen up your gardens with a fun DIY approach!
Introduction to DIY Planters
DIY planters are a fun and creative way to add some greenery to your home decor, and repurpose items in the process. Making your own planters using simple materials and tools is an easy and affordable project that anyone can do.
Here are some tips and tricks when making DIY planters using tin cans:
Thoroughly clean the tin cans before use.
Use a hammer and nail to create drainage holes in the bottom of the can.
Add a layer of stones, gravel or sand to the bottom of the can to aid in drainage.
Use soil that is appropriate for the type of plant you will be growing.
Decorate the outside of the can with paint, decoupage or other materials to match your home decor.
Remember to water your plants regularly, taking care not to overwater.
With these tips and tricks, you can create beautiful and unique planters that will be the perfect addition to your home or office.
DIY, Tin Can Planters
DIY planters offer a variety of benefits beyond just being a fun and creative project to undertake. Here are some of the top benefits of DIY planters:
Customization – You can create planters in any size, shape or color you desire, allowing you to perfectly match your decor or accommodate specific planting needs.
Affordability – DIY planters can be made from ordinary household items or recycled materials, saving you the cost of purchasing a pre-made planter.
Flexibility – With DIY planters, you can design a container to suit any type of plant, whether it requires drainage holes or specific soil conditions.
Eco-Friendliness – Creating your own planters allows you to reuse items that would otherwise end up in the landfill, giving them a second life as a functional piece of decor.
Personal Satisfaction – Crafting your own planter can be a rewarding and fulfilling experience, giving you a sense of pride and accomplishment.
Pro Tip: If you’ve never made a DIY planter before, start with a simple project using materials you already have on hand, such as mason jars or terracotta pots.
Materials Needed for DIY Planters
DIY planters are a fun and affordable way to add a touch of greenery to your home. Here are the materials you will need to create your own tin can planter:
- Empty tin cans
- Acrylic paint (in desired color or colors)
- Paintbrushes
- Soil
- Small plants or herbs
- Hammer and nail (optional)
Steps to follow:
- Clean and dry the tin cans.
- Paint the cans with acrylic paint and allow them to dry thoroughly.
- Once the paint is dry, fill each can with soil and your small plant or herb.
- For hanging planters, use a hammer and nail to poke 2 holes at the top of each can and insert a wire or a string for hanging.
Pro Tip: Be creative with your paint colors and designs to make your planters unique and eye-catching.
Step-by-Step Guide to Making DIY Planters
DIY planters are a fun and cost-effective way to add some greenery to your home. With this step-by-step guide, you can create your very own tin can planter in just a few simple steps.
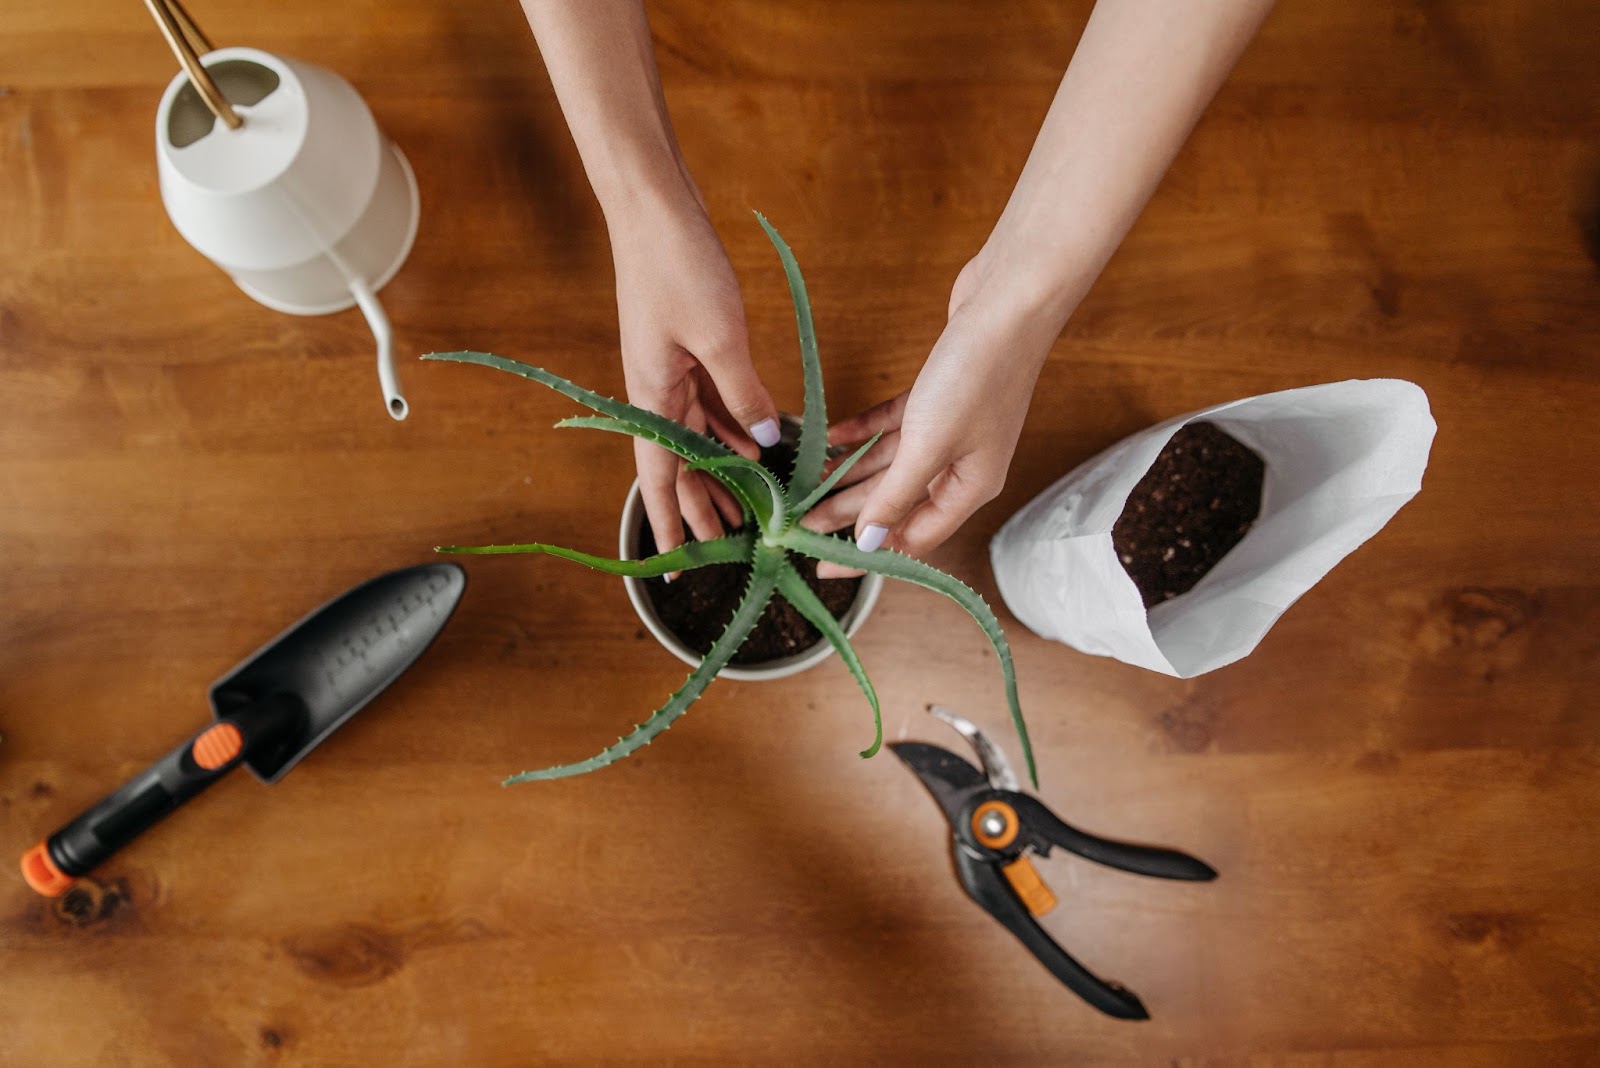
Here’s what you’ll need:
– Tin cans
– Painter’s tape
– Spray paint
– Soil
– Plants or seeds
Steps to follow:
1. Clean the tin cans thoroughly and remove any labels or residue.
2. Use painter’s tape to create a design or pattern on the surface of the can.
3. Spray paint the can in your desired color.
4. Let the can dry completely before removing the painter’s tape.
5. Fill the can with soil, leaving enough space for the plant or seeds.
6. Plant the seeds or transplant the plants into the soil.
7. Water the soil and put the planter in a sunny spot.
With these simple tips and tricks, your DIY tin can planter will be the talk of the town in no time!
Pro Tip: To create a funky yet artistic look, experiment with different colors and designs while painting your can planter.
Tips & Tricks for Making DIY Planters
DIY planters are an inexpensive way to add greenery and personality to your home. Here are some tips and tricks for making your own DIY planters from tin cans:
Choose the right size: Make sure your tin can is the appropriate size for your plant. Succulents and herbs require shallower containers while other plants may need deeper containers for their roots.
Be creative: Experiment with different paint colors, patterns, and textures to give your tin can planter a unique aesthetic appeal.
Add drainage holes: Drill a few small holes in the bottom of your tin can planter to help with drainage and prevent overwatering.
Stabilize your planter: Use a flat rock or a cork sheet at the bottom of your planter to help stabilize it and prevent it from tipping over.
Upcycle other materials: You can also use other materials, such as old teapots, mason jars, or wooden boxes to make your DIY planter even more unique.
With these tips and tricks, you’ll be able to create your own beautiful and functional DIY tin can planter in no time!
Decorating Your DIY Planters
DIY planters are a great way to bring life and color to your home, but decorating them adds a personal touch and can make them even more eye-catching. Here are some tips and tricks for decorating your DIY planters:
1. Paint your planters in your favorite colors or patterns to match your home decor or add a pop of color.
2. Use stencils or stickers to add shapes, letters or designs to your planters.
3. Add textures by gluing materials such as twine, burlap, or seashells to your tin can planters.
4. If you prefer a natural look, wrap your planters in twine or natural fibers, such as hemp or jute.
5. Personalize your planters by adding your name or a favorite quote using vinyl lettering or paint pens.
By taking the time to decorate your DIY planters, you can enjoy having unique and beautiful home decor that reflects your personality and creative style.
Caring for Your DIY Planters
DIY planters require proper care to ensure the longevity and health of your plants. Here are some tips and tricks for caring for your DIY planters made from tin cans.
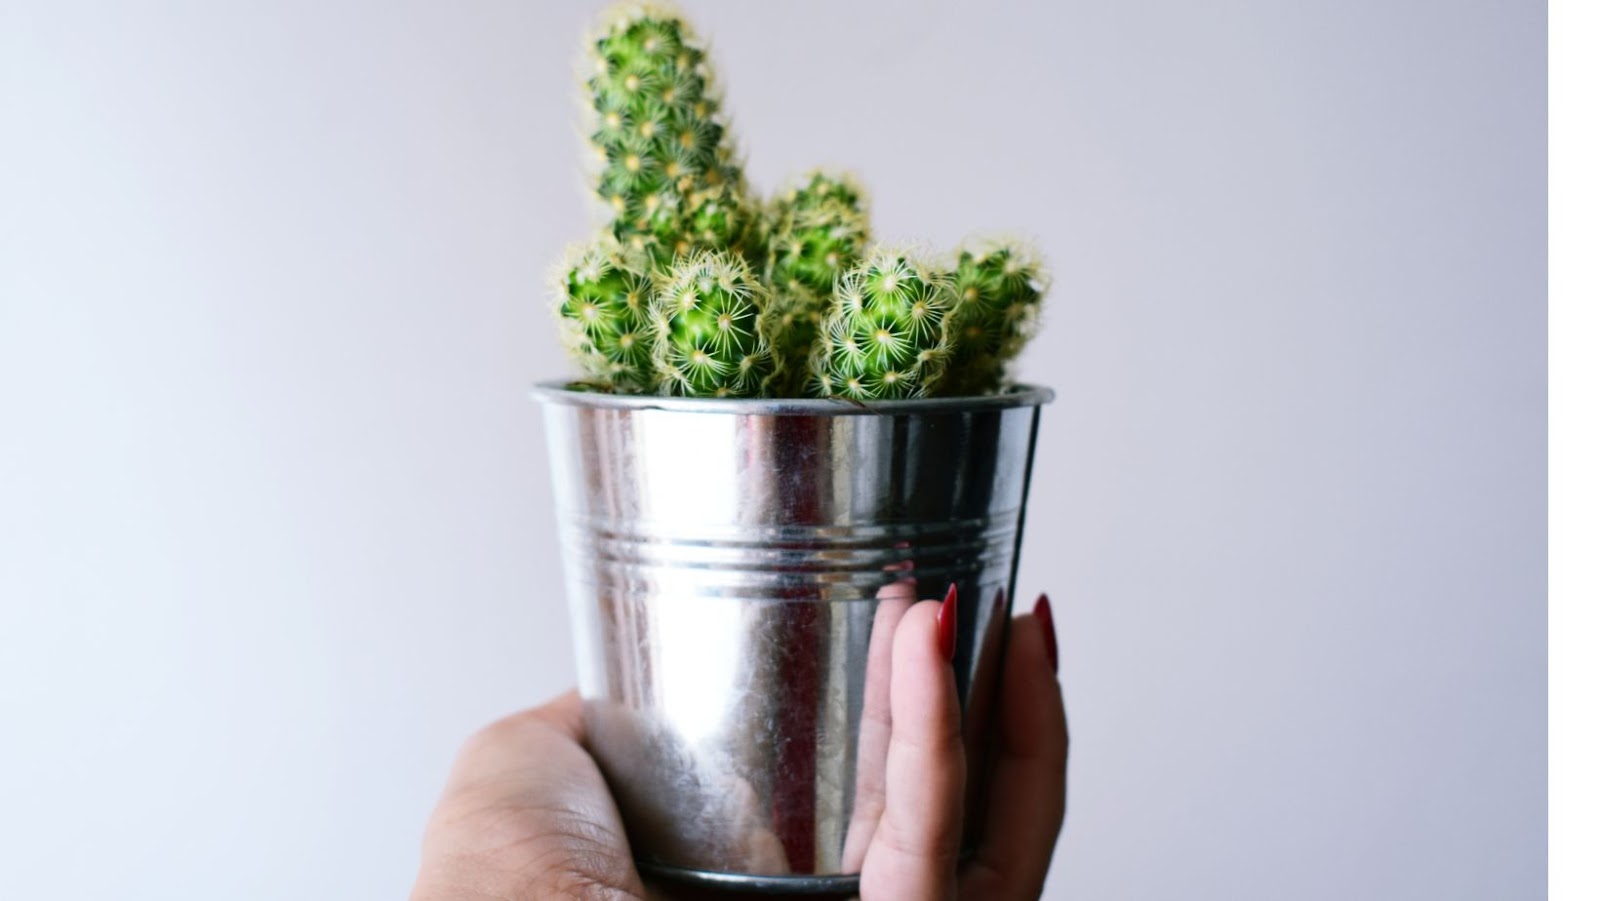
1. Drainage: For plants to grow properly, they require proper drainage. Before adding the potting soil, poke a few small holes at the bottom of the tin can planter to ensure proper drainage.
2. Soil: Use high-quality potting soil that is well-draining and nutrient-rich. Avoid using soil from your garden as it can contain disease, pests, and weeds.
3. Watering: Monitor the moisture level of the soil by feeling it with your fingers. Stick to a consistent watering schedule, making sure not to overwater or underwater your plant.
4. Fertilizer: Proper fertilization is vital for your plants to thrive. Use a balanced, slow-release fertilizer once a month that is appropriate for the type of plant you are growing.
5. Repotting: As your plant grows, it will require more space to thrive. Repot your plant to a larger container when you notice its roots are outgrowing the current pot.
Pro Tip: Remember to keep an eye out for pests or diseases, and take action immediately if you spot any issues. Practice good plant hygiene by cleaning and sanitizing your tools between uses to prevent the spread of disease.
Conclusion
In conclusion, making DIY planters out of tin cans is an excellent way to repurpose materials and add a touch of greenery to your home.
Here are some key tips and tricks to keep in mind when making your own tin can planters:
Use the right size tin can for your plant: Consider the size of your plant’s root system and choose a tin can that will give it enough space to grow.
Make sure your tin can has drainage holes: Without proper drainage, the roots of your plant may become waterlogged and die.
Use high-quality potting soil: This will provide your plant with adequate nutrients and drainage, ensuring that it can thrive in its new home.
Add a layer of gravel at the bottom of your tin can planter: This will help with drainage and prevent water from pooling around the roots.
Get creative with the design of your tin can planter: Paint it, add embellishments, or use multiple tin cans to create a unique design.
With these tips and tricks in mind, you’ll be able to create beautiful and functional tin can planters for your home or garden. Happy crafting!

 The Benefits Of Outdoor Sofa Deep Seating
  This Method has Been Used for Centuries
  The Different Types of Bonds
  Solar Panel Cost And Efficiency
  Finding The Perfect Location
  The Most Comfortable Deep Seating Outdoor Furniture