Add Storage And Seating to Your Kitchen Island.
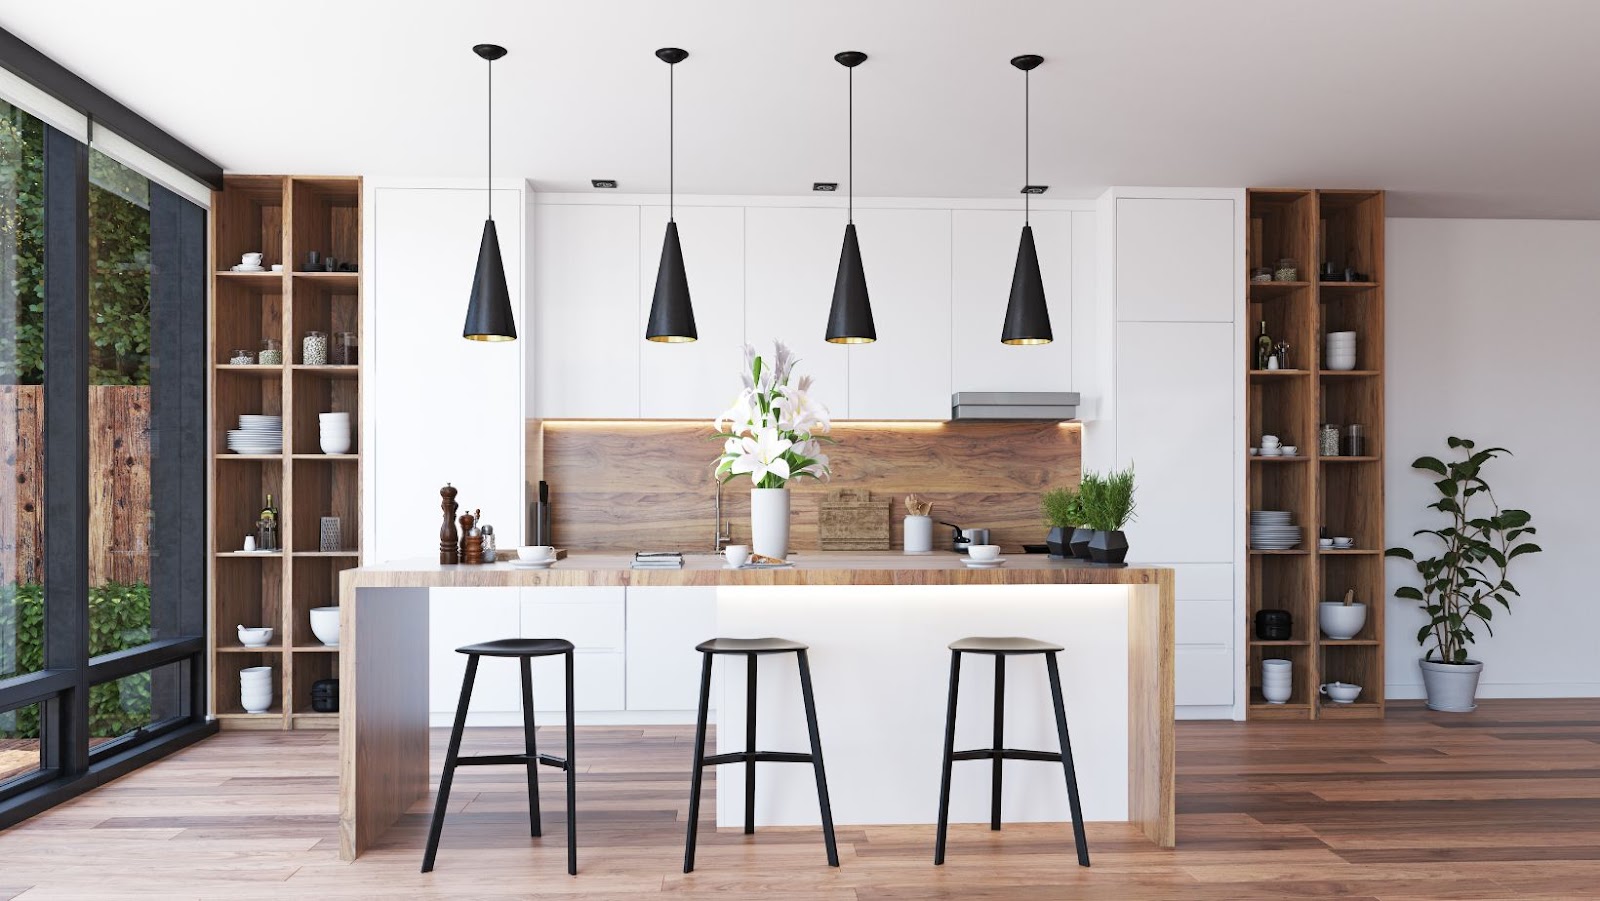
Building a kitchen island is a great way to add extra storage and seating to your kitchen. With a few tools and supplies, you can easily create a kitchen island that not only looks great but is also functional.
From picking out the right materials to attaching the cabinets and drawers, we will go through the steps of building a kitchen island.
How to Build Kitchen Island
Building a kitchen island can be a fun and rewarding project that adds storage and seating to your kitchen. To build a solid kitchen island, you will need the following materials and tools:
Materials:
- 2x4s for framing
- Plywood or MDF for the base and countertops
- Wood screws
- Wood glue
- Paint or stain (optional)
Tools:
- Circular saw or table saw
- Drill
- Jigsaw
- Clamps
- Level
- Measuring tape
- Screwdriver bit
- Sandpaper
With these materials and tools, you can customise your kitchen island to fit your space and personal style, creating a beautiful and functional addition to your kitchen.
Pro Tip: To make your kitchen island even more practical, consider installing hooks or shelves for additional storage space.
Choose Your Island’s Design And Measurements
Designing and measuring your kitchen island is the first and most crucial step in building your own kitchen island with added storage and seating. Here’s what you need to do:
Determine the function and purpose of your island. Will it just serve as a workspace, or do you want to add storage and seating?
Measure the available space in your kitchen to ensure that your island will fit comfortably.
Decide on the design and layout of your island based on your kitchen’s style and your personal preferences.
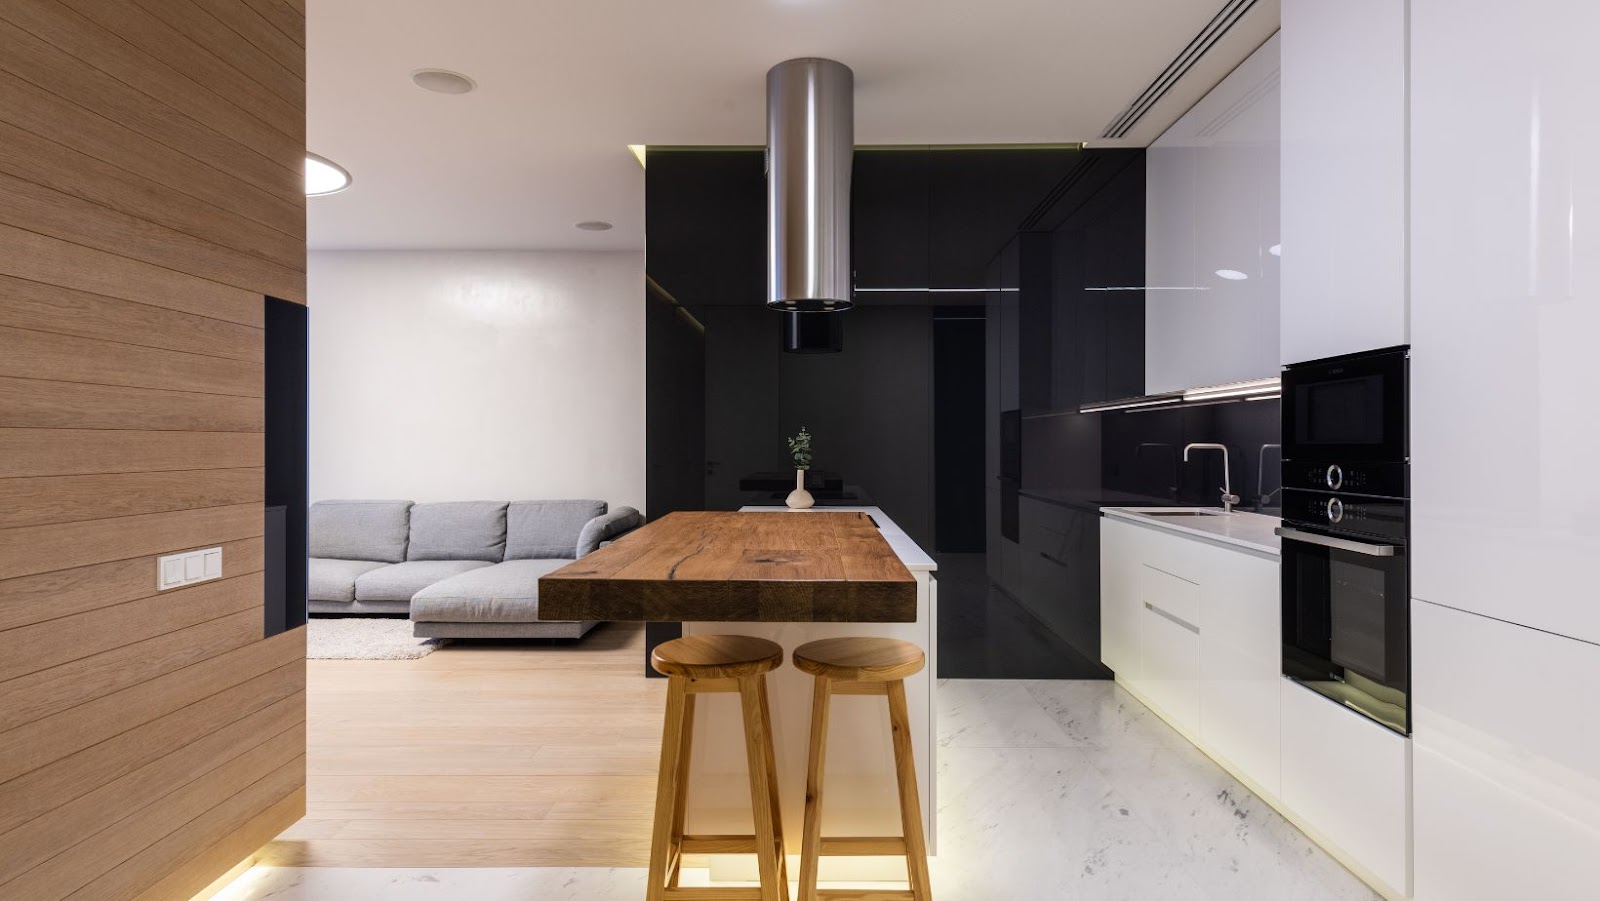
Once you have a general design in mind, draw up a detailed blueprint with precise measurements and materials needed.
Before starting your project, consult with a professional to ensure that your design and materials will be safe and functional.
Building your own kitchen island can be a fun and rewarding project that adds value and functionality to your home kitchen.
Pro Tip: Don’t be afraid to get creative with your island design and consider using salvaged or repurposed materials for a one-of-a-kind look.
Purchase or gather materials and tools
To build a kitchen island and add extra storage and seating, you will need to purchase or gather several materials and tools. Here’s a quick checklist of what you’ll need:
Materials:
– 2×4 wood planks
– Plywood sheets
– Countertop
– Screws
– L-brackets
– Wood glue
– Sandpaper
Tools:
– Saw (circular or handsaw)
– Power drill
– Screwdriver
– Clamps
– Measuring tape
– Pencil
Once you have all the materials and tools you need, you can begin building your kitchen island by measuring and cutting the wood planks and plywood sheets to the desired sizes. Then, use wood glue and clamps to secure the pieces together and reinforce them with screws and L-brackets. Once the frame is complete, attach the countertop and sand down any rough edges. Your new kitchen island is now ready to use!
Pro Tip: For a more polished look, consider painting or staining the wood to match the rest of your kitchen décor.
Building Storage For Your Kitchen Island
Building storage for your kitchen island is a great way to add extra space to your kitchen. This project is relatively simple and makes for a great weekend project for beginners.
There are countless options for adding storage to your kitchen island, from drawers and cabinets to bookshelves and hidden compartments.
In this article, we’ll discuss the best ways to build the perfect storage for your kitchen island.
Install Kitchen Island Cabinets
Installing kitchen island cabinets is an effective way to add more storage and seating to your kitchen. Here’s how to build a kitchen island:
1. Measure the size of your kitchen to determine how much space you have for an island.
2. Choose the cabinet style and colour that matches your kitchen decor and personal preference.
3. Purchase the cabinets and any additional materials, such as countertop, hardware, and screws.
4. Assemble the cabinets according to the manufacturer’s instructions.
5. Secure the cabinets together using screws and L-brackets.
6. Install the countertop on top of the cabinets, using construction adhesive to secure it.
7. Add any finishing touches, such as painting or staining the cabinets to match your kitchen decor.
With your new kitchen island cabinets, you’ll be able to store and organise your kitchen essentials and have extra space for food preparation and seating. Pro Tip: Consider adding a power source to your island for added convenience.
Install Island Shelving
Installing island shelving is a great way to add both storage space and seating to your kitchen island, making it a more functional and inviting space for your family and guests.
Here are a few tips on building storage for your kitchen island:
Measure the dimensions of your kitchen island and determine the size and layout of the shelving you want to install.
Choose a material that matches the existing finishes in your kitchen, such as wood or metal.
Install the shelf supports onto the sides of the island using screws or brackets.
Cut the shelves to size and attach them to the supports.
Finally, add cushions on top of the shelves to make them comfortable for seating.
By following these steps, you can build storage for your kitchen island that is both practical and aesthetically pleasing.
Pro tip: To make the most of your island shelving, use it to store frequently used items such as cookbooks or cutting boards, and consider adding hooks for hanging utensils or pots and pans.
Install Built-in Drawers
If you’re looking to add storage and seating to your kitchen island, installing built-in drawers is a great solution. Here’s how you can build storage for your kitchen island:
Measure the dimensions of the space where you want to install the built-in drawers.
Purchase pre-built drawer boxes that fit the measurements or build your own using plywood.
Install drawer runners or slides inside the cabinet space where the drawers will be housed.
Attach the drawer boxes to the runners or slides using screws and make sure they glide in and out smoothly.
Add drawer handles or knobs to the front of the drawers for easy opening and closing.
For added seating, install a countertop over the cabinet space and add bar stools.
Pro tip: Adding built-in drawers to your kitchen island not only provides additional storage but also adds value and functionality to your home.
Building Seating For Your Kitchen Island
If you are planning to build a kitchen island, you can easily add seating by following a few simple steps. Knowing how to integrate seating into the design of your island can save you both time and money, while at the same time give you more storage and seating options.
In this article, we will discuss how to build seating for your kitchen island.
Determine The Size And Style of Your Seating Area
When building seating for your kitchen island, it’s important to determine the size and style of your seating area to ensure that it is functional and fits with the overall look of your kitchen.
Here are some tips to help you get started:
Determine how many seats you want to add to your kitchen island and measure the space accordingly.
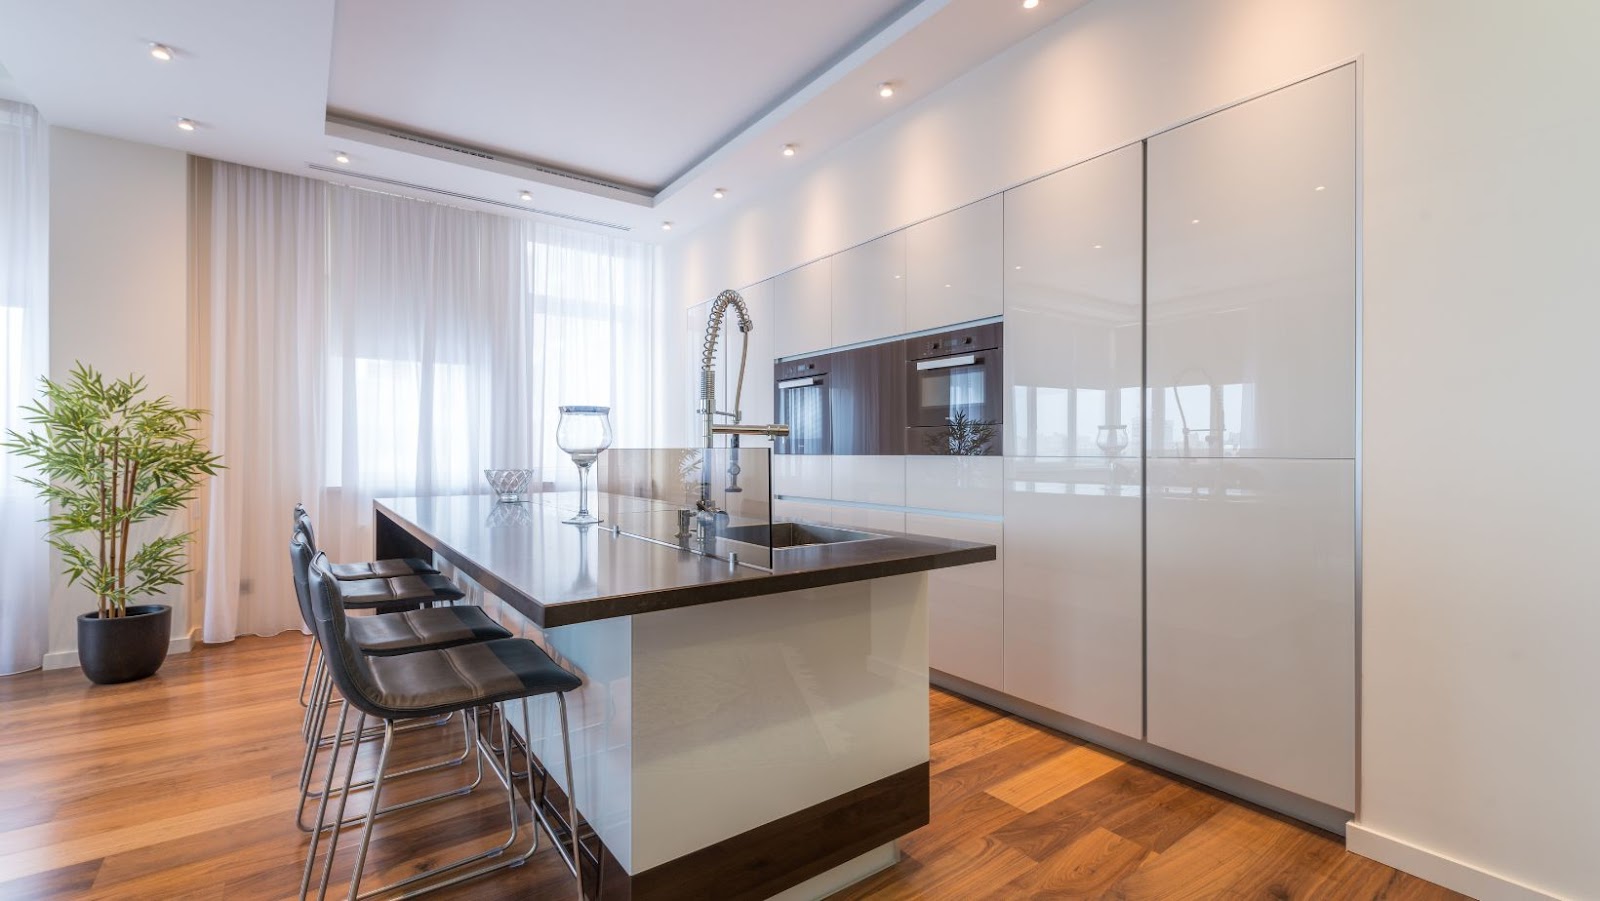
Choose a seating style that complements the design of your kitchen. For example, if your kitchen has a modern design, consider using sleek, minimalist stools with clean lines.
Consider adding storage underneath your seating area to maximise space and functionality.
Install hardware that complements the materials and finishes of your kitchen island to create a cohesive look.
Keep in mind the height of your seating in relation to your island. Generally, a height of 24 to 26 inches is standard for a kitchen island seating area.
By following these tips, you can build a functional and stylish seating area for your kitchen island that meets your needs and enhances the overall look of your kitchen.
Install a Freestanding Island With Seating
Installing a freestanding island with seating is a great way to add both storage and seating capacity to your kitchen while also creating more workspace. Here are the steps to follow:
1. Determine the size and location of your island. It should be proportional to your kitchen size and leave enough space for easy movement around it.
2. Choose the right materials for your island. Use high-quality wood or metal to ensure durability and longevity.
3. Add storage features and consider what you want to store inside the island. Use drawers, shelves, or cabinets to maximise interior space.
4. Add seating space, depending on the size of the island. If possible, opt for comfortable, cushioned seats or stools.
5. Finish off with a sturdy countertop that can withstand daily use and food preparation.
Building your own kitchen island can save you money while also adding value to your residence. Pro tip: Don’t forget to match your island’s design with your kitchen’s overall decor for the best results.
Install a Custom-Built Island With Seating
If you’re looking to add extra seating and storage to your kitchen, installing a custom-built island with seating is an excellent idea. Here’s how to build a kitchen island with seating:
Step 1: Plan the design and layout of your island, ensuring that it complements your kitchen’s decor and meets your specific storage and seating needs.
Step 2: Gather the necessary tools and materials, including wood boards or pre-made cabinets, screws, nails, countertop materials, seating, and storage accessories.
Step 3: Assemble the base of your island, either using the purchased cabinets or wooden boards.
Step 4: Attach the countertop to the base using screws, and then add seating to the island. You can use pre-made stools or build your benches, depending on your preference.
Step 5: Finish the island with paint, varnish or a protective coating.
Pro tip: If you’re not confident in your carpentry skills, consider hiring a professional to customise and install your kitchen island with seating. It will save you time and guarantee a successful outcome.
Finishing Touches For Your Kitchen Island
After you’ve built your kitchen island, you’ll want to add the finishing touches to make it a statement piece in your kitchen. Whether you’re looking for extra storage or seating, there are a variety of options to choose from to help customise your island.
Now let’s dive into the details of how to make the most of your kitchen island.
Sanding And Painting or Staining
After building your kitchen island, the next step is to give it a polished finish through sanding, painting, or staining. Here’s how to do it:
Sanding:
Start with a coarse-grit sandpaper and work your way up to a finer grit to smooth out any rough edges or surfaces. Don’t forget to sand the edges and corners for a uniform finish.
Painting:
Paint your kitchen island with high-quality paint that is suitable for wooden surfaces. Use a brush or roller to apply thin coats, allowing each coat to dry before applying the next one. You can also use a paint sprayer for a smoother finish.
Staining:
Staining your kitchen island involves applying a coat of stain, letting it sit for a few minutes, and wiping off any excess with a cloth. For a deeper hue, apply a second coat after the first one dries.
Whichever method you choose, be sure to give your island enough time to dry before using it.
Adding Hardware
Adding hardware is one of the finishing touches that can enhance the functionality and aesthetic appeal of your kitchen island. By selecting the right hardware, you can make your island more user-friendly, stylish, and efficient.
Here are some tips for choosing the hardware for your kitchen island:
1. Knobs: Choose knobs that are ergonomic, easy to grip, and match the color and finish of your cabinetry and countertop.
2. Pulls: Drawer and cabinet pulls should be comfortable to use and complement the overall design of your kitchen.
3. Hinges: Select hinges that can support the weight and size of the doors and allow for smooth opening and closing.
In addition, consider adding storage and seating options to your kitchen island to maximise its functionality and convenience. Install shelves, drawers, and cabinets to store utensils, cookbooks, and other kitchen essentials. Add stools or chairs to create a cosy breakfast nook or a social gathering spot. With these simple additions, your kitchen island can become the centrepiece of your culinary space.
Adding a Countertop And Undermount Sink.
Adding a countertop and undermount sink is a great way to complete the functionality of your kitchen island. Before beginning this process, it is important to ensure your kitchen island is structurally capable of supporting a sink.
Here are the steps to follow:
1. Cut a hole in the countertop for the sink and attach the sink.
2. Install plumbing and drainage for the sink, ensuring that the sink is level.
3. Apply sealant around the edges of the sink to prevent leaks.
4. Install additional cabinets or drawers under the sink for additional storage.
5. Add seating to your kitchen island by incorporating bar stools or chairs, making it a comfortable space to dine and entertain.

 The Benefits Of Outdoor Sofa Deep Seating
  This Method has Been Used for Centuries
  The Different Types of Bonds
  Solar Panel Cost And Efficiency
  The Most Comfortable Deep Seating Outdoor Furniture
  Maintaining Your Glass Cabinet Doors