Assembling The Cabinet Doors From Plywood
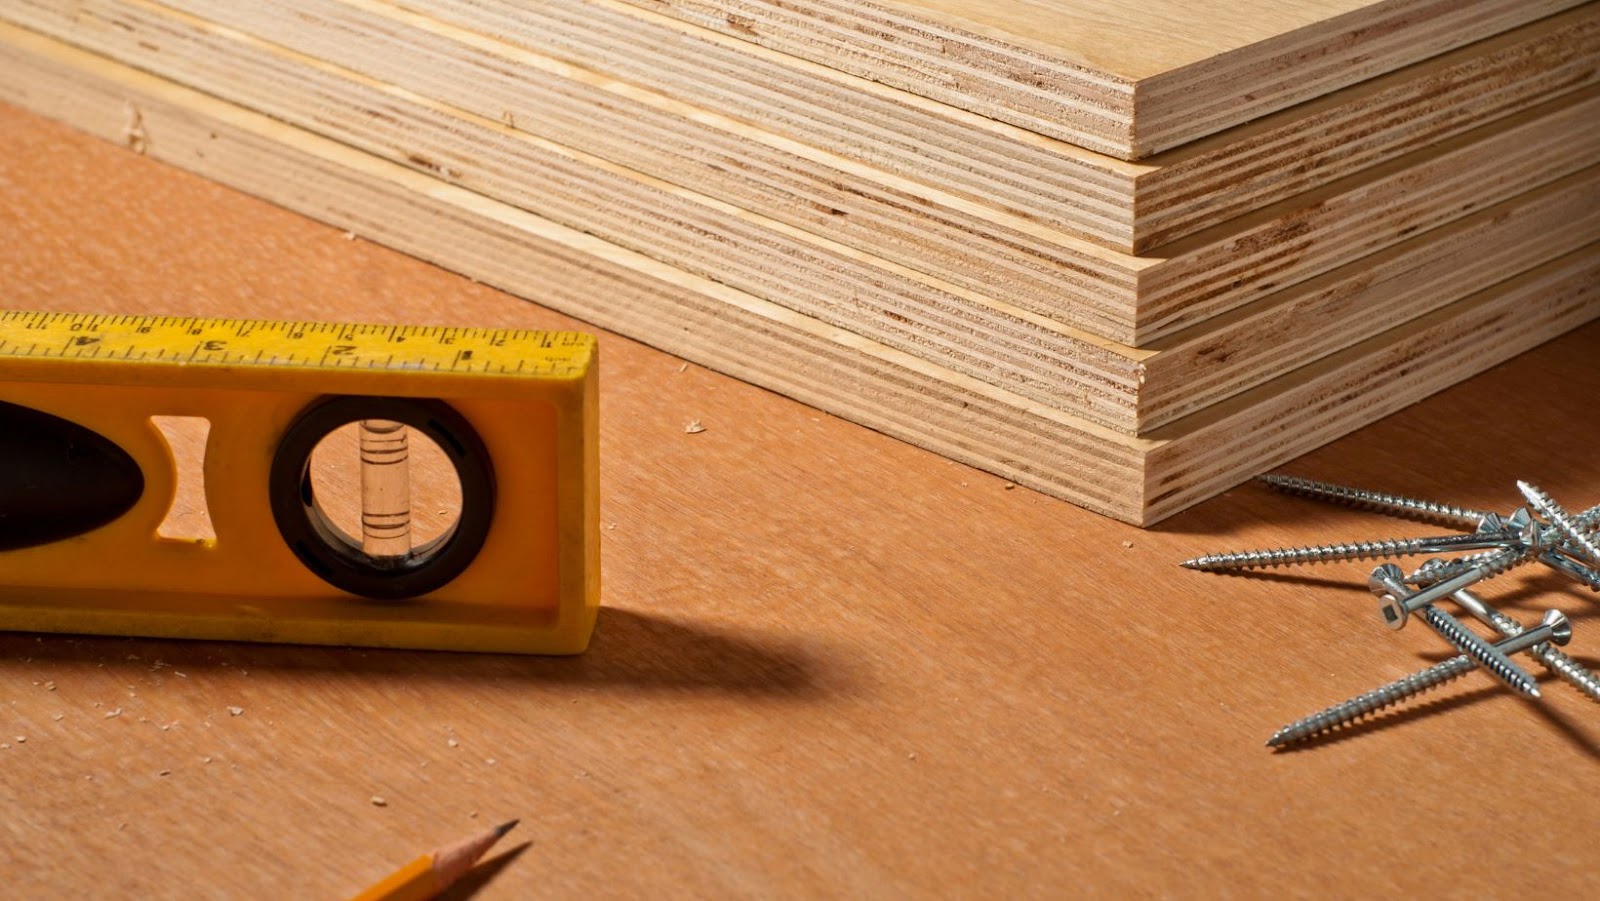
Making cabinet doors from plywood is a great way to give a room an updated look. Whether you are a DIYer or an experienced woodworker, it is relatively easy to construct your own cabinet doors. With the right tools and materials, you can create sturdy cabinet doors with a beautiful finish.
In this guide, we will go through the steps of making cabinet doors from plywood.
How to Make Cabinet Doors From Plywood
To make cabinet doors from plywood, you’ll need the following materials:
Plywood sheets: Choose a high-quality plywood with a thickness of at least ½ inch for durability and strength.
Table saw or circular saw: You’ll need a saw to cut the plywood sheets into the size and shape of your cabinet doors.
Measuring tape: Use a measuring tape to accurately measure the size of your cabinet doors and mark the plywood sheets before cutting them.
Sandpaper: Sandpaper helps smoothen the edges of the plywood and gives it a polished finish.
Wood glue: Wood glue is used to join the pieces of plywood together and ensures the stability of the cabinet doors.
Clamps: Use clamps to hold the plywood sheets together while the wood glue dries.
Cabinet hardware: You’ll need hinges, knobs, or pulls to attach to the cabinet doors and make them functional.
Once you’ve gathered all the materials, you can start assembling the cabinet doors from plywood using the right tools and techniques.
Prep Work Required Before Assembling The Plywood Cabinet Doors
Before assembling the plywood cabinet doors, there are a few essential prep work steps to ensure successful construction.
First, measure and cut the plywood into the desired sizes to make the door panels.
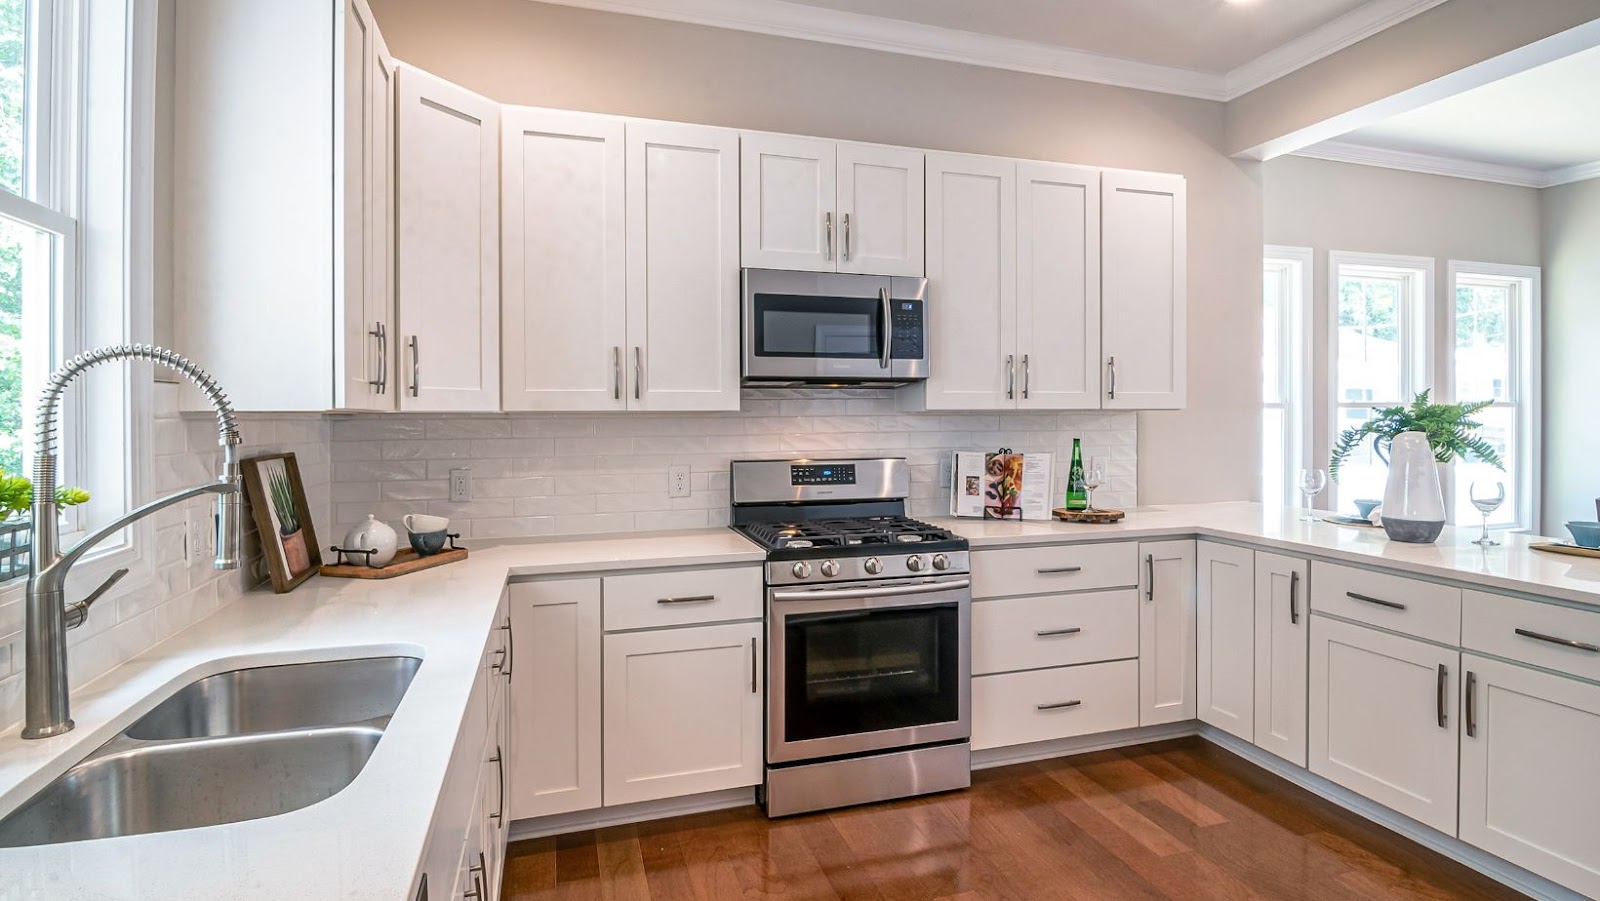
Next, decide on the type of door design – whether it’s a flat panel, raised panel or shaker style.
Then, using a table saw or router, make the necessary grooves for panel insert.
Sand the edges and faces of the panels before assembling the door frames.
Use pocket holes, dowels, or biscuits to join the framed sections of the doors, and clamp them together securely while the glue dries.
Finally, sand all surfaces of the door to make them smooth and ready for painting or staining.
Following these key prep steps helps make the final product stronger and more durable.
Measuring And Cutting The Plywood For The Cabinet Doors
Measuring and cutting the plywood to size is a crucial step in making cabinet doors from plywood. Follow these steps to ensure that you cut your plywood to the correct size:
1. Measure the dimensions of your cabinet door opening using a tape measure.
2. Subtract 1/8 inch from both the width and height of the cabinet door opening to account for the gap needed for the hinges and hardware.
3. Mark these new dimensions on the plywood using a pencil and ruler or straight edge.
4. Use a circular saw or table saw to cut the plywood to the correct size, following the marked lines.
Remember to wear safety glasses and gloves while handling the saw and plywood. Pro tip: You can make your cabinet doors look more polished by sanding the edges with sandpaper and covering them with veneer or edge banding.
Putting Together The Plywood Cabinet Doors
Do-it-yourselfers often face the challenge of assembling cabinet doors from plywood. Fortunately, if you have the right tools and materials, and some patience, it is actually not complicated.
With the right sequence of steps, this project can be done quickly and effectively. Here is an overview of how to make cabinet doors from plywood.
Applying Glue And Clamping The Cabinet Doors Together
Assembling plywood cabinet doors is an easy and inexpensive way to elevate the look of your kitchen or bathroom.
To put together the plywood cabinet doors, you will need to apply glue and clamp them together:
Apply a thin layer of wood glue along the edges of the plywood pieces that will form the door.
Carefully align the plywood pieces and clamp them together using woodworking clamps.
Wipe off any excess glue with a clean cloth.
Allow the glue to dry completely before removing the clamps and sanding the door.
Repeat the process with each cabinet door.
Assembling plywood cabinet doors is a beginner-friendly DIY project that can enhance the aesthetic of your living space without breaking the bank. Happy DIY-ing!
Adding Dowels or Biscuits For Extra Strength
When assembling plywood cabinet doors, adding dowels or biscuits can provide extra strength to the joints, making your cabinet doors more durable over time. Here are the steps to follow:
1. Use a doweling jig or biscuit joiner to make evenly spaced holes in the edges of the plywood pieces that will be joined together.
2. Apply glue to the holes and the mating edges of the plywood pieces.
3. Insert dowels or biscuits into the holes, making sure they are fully coated with glue and fit snugly.
4. Join the pieces of plywood together, applying pressure to the joints to ensure a tight bond.
5. Wipe off any excess glue and allow the joint to dry completely before sanding and finishing the cabinet doors.
With dowels or biscuits, your plywood cabinet doors will be able to withstand daily wear and tear, ensuring they last for years to come.
Sanding And Finishing The Plywood Cabinet Doors For a Professional Look
Sanding and finishing the plywood cabinet doors is an essential step to give your cabinets a polished, professional look. After assembling the cabinet doors from plywood, follow these steps to sand and finish them:
Step 1: Sand the surface of the plywood with fine-grit sandpaper to remove any rough or uneven spots. Wipe the surface clean of dust and debris.
Step 2: Apply a coat of wood conditioner to the plywood surface. This seals the wood and ensures that the stain will absorb evenly.
Step 3: Apply a thin and even coat of stain to the plywood surface, using a clean cloth or brush. Allow the stain to sit for a few minutes before wiping away the excess.
Step 4: Allow the stain to dry completely, usually for 24 hours.
Step 5: Apply a coat of clear coat or polyurethane to the surface to protect the plywood surface and give it a glossy finish.
Pro tip- Apply multiple thin coats of clear coat or polyurethane, allowing each coat to dry fully before applying the next.

 The Benefits Of Outdoor Sofa Deep Seating
  This Method has Been Used for Centuries
  The Different Types of Bonds
  Solar Panel Cost And Efficiency
  The Most Comfortable Deep Seating Outdoor Furniture
  Maintaining Your Glass Cabinet Doors