Preparing Your Cabinet Doors For Painting
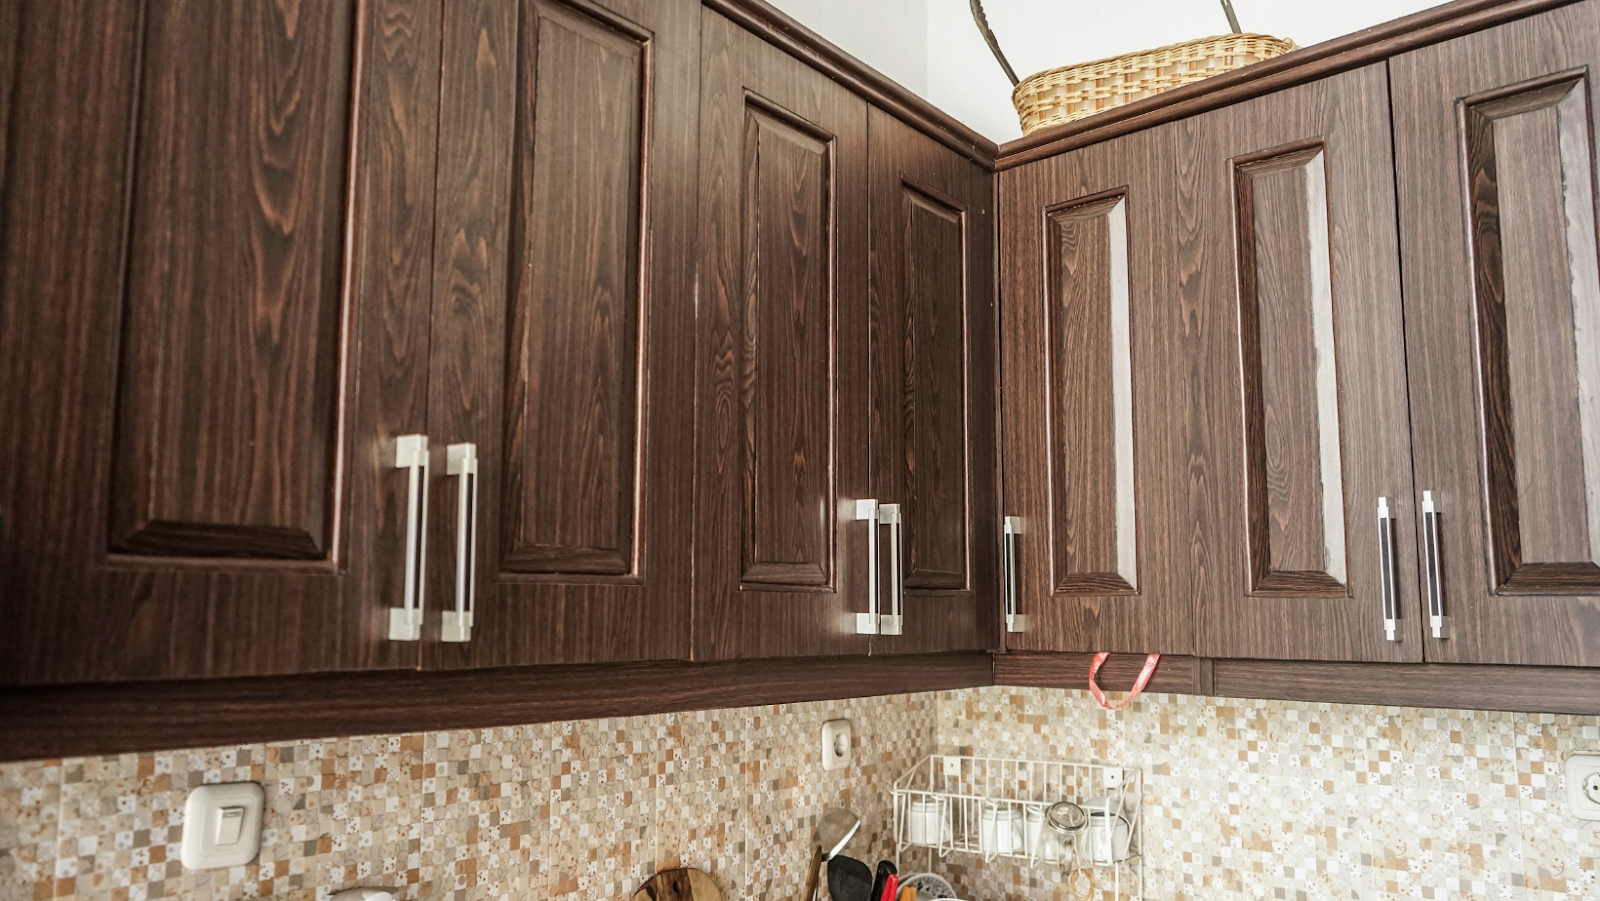
Are you looking to give new life to your kitchen cabinets? Painting your cabinet doors is the perfect way to quickly and inexpensively update the look of your space. You can do it yourself with the right preparation and tools; here’s how.
Introduction
Painting your cabinet doors is an excellent way to give your kitchen or bathroom a fresh new look without breaking the bank. However, before you start painting, you need to prepare your cabinet doors properly to ensure a smooth and long-lasting finish.
Here are some tips to help you prepare your cabinet doors for painting:
- Clean the cabinet doors thoroughly with soap and warm water and then let them dry completely.
- Remove any hardware, such as handles, knobs, and hinges.
- Sand down the cabinet doors with medium-grit sandpaper to remove any existing finish and create a rough surface that the paint can adhere to.
- Fill any gaps, holes, or scratches with wood filler and let it dry. Sand it smooth with fine-grit sandpaper.
- Apply a coat of primer to the cabinet doors to help the paint adhere better and give them a more professional finish.
- Allow the primer to dry completely before applying the paint.
By following these steps, you can ensure that your cabinet doors are properly prepared for painting and achieve a beautiful and long-lasting finish.
Necessary Supplies
Before painting your cabinet doors, you need to have the necessary supplies at hand to ensure a successful painting project. Here are the key supplies you will need:
-Screwdriver: To remove cabinet doors and hardware.
-Sandpaper (150-220 grit): To rough up the surface of the cabinet doors for better paint adhesion.
-Tack cloth: To remove any dust or debris from the cabinet doors after sanding.
-Primer: To create a smooth and even base for the paint to adhere to.
-Paint: To give your cabinet doors the desired finish and color.
-Paintbrushes and/or rollers: To apply the primer and paint.
-Paint tray: To hold the paint and provide an even distribution on the paintbrush.
Pro tip: Before painting your entire cabinet, test paint a small area to make sure the color and finish are to your liking. This way, you can make any necessary changes before committing to painting the entire cabinet.
How to Paint Cabinet Doors
If you’re planning to paint your cabinet doors, proper preparation is key to ensure a smooth and long-lasting finish. Here’s how to prepare your cabinet doors for painting:
1. Remove the cabinet doors from the frames using a screwdriver.
2. Clean the doors thoroughly with a degreaser to remove any dirt or grease buildup. Rinse them with water and allow them to dry completely.
3. Sand the doors gently with a fine-grit sandpaper, making sure you sand along the grain of the wood. This helps to create a textured surface that allows the primer to adhere to the wood.
4. Apply a coat of primer to the cabinet doors using a brush or roller. This helps to ensure that the paint adheres well to the wood and provides a smooth finish. Let the primer dry completely before moving on to the next step.
5. Apply the paint using a brush or roller, following the same technique as the primer. You may need to apply multiple coats, depending on the color and type of paint you’re using. Allow each coat to dry completely before applying the next one.
Pro Tip: Make sure you work in a well-ventilated area and wear a mask to avoid inhaling any fumes from the paint or primer.
Sanding and Priming
Before painting your cabinet doors, it’s crucial to prepare the surface by sanding and priming to ensure that the paint adheres correctly and lasts longer.
Sanding the Cabinet Doors:
Use medium-grit sandpaper to sand the entire surface of your cabinet doors lightly. This helps to remove any existing paint, dirt, or grime from the surface.
Next, use fine-grit sandpaper to smooth out the surface and create an even texture. Make sure to wipe away any sanding dust with a clean cloth before moving to the next step.
Priming the Cabinet Doors:
Apply a thin coat of primer to the entire surface of the cabinet doors using a small roller brush. The primer should be evenly distributed and cover the surface of the door completely.
Let the primer dry completely before painting. This ensures that the paint adheres to the surface and creates a smooth and even finish.
Pro tip: Use a high-quality primer and sandpaper to ensure that your paint job lasts and looks great.
Choosing the Right Paint
Choosing the right paint for your cabinet doors is crucial to achieving a professional-looking finish that will last for years.
When selecting paint, consider the following factors:
Type of paint: You can choose between water-based or oil-based paint. Water-based paints dry faster and are easier to clean up, while oil-based paints are more durable and provide a smoother finish.
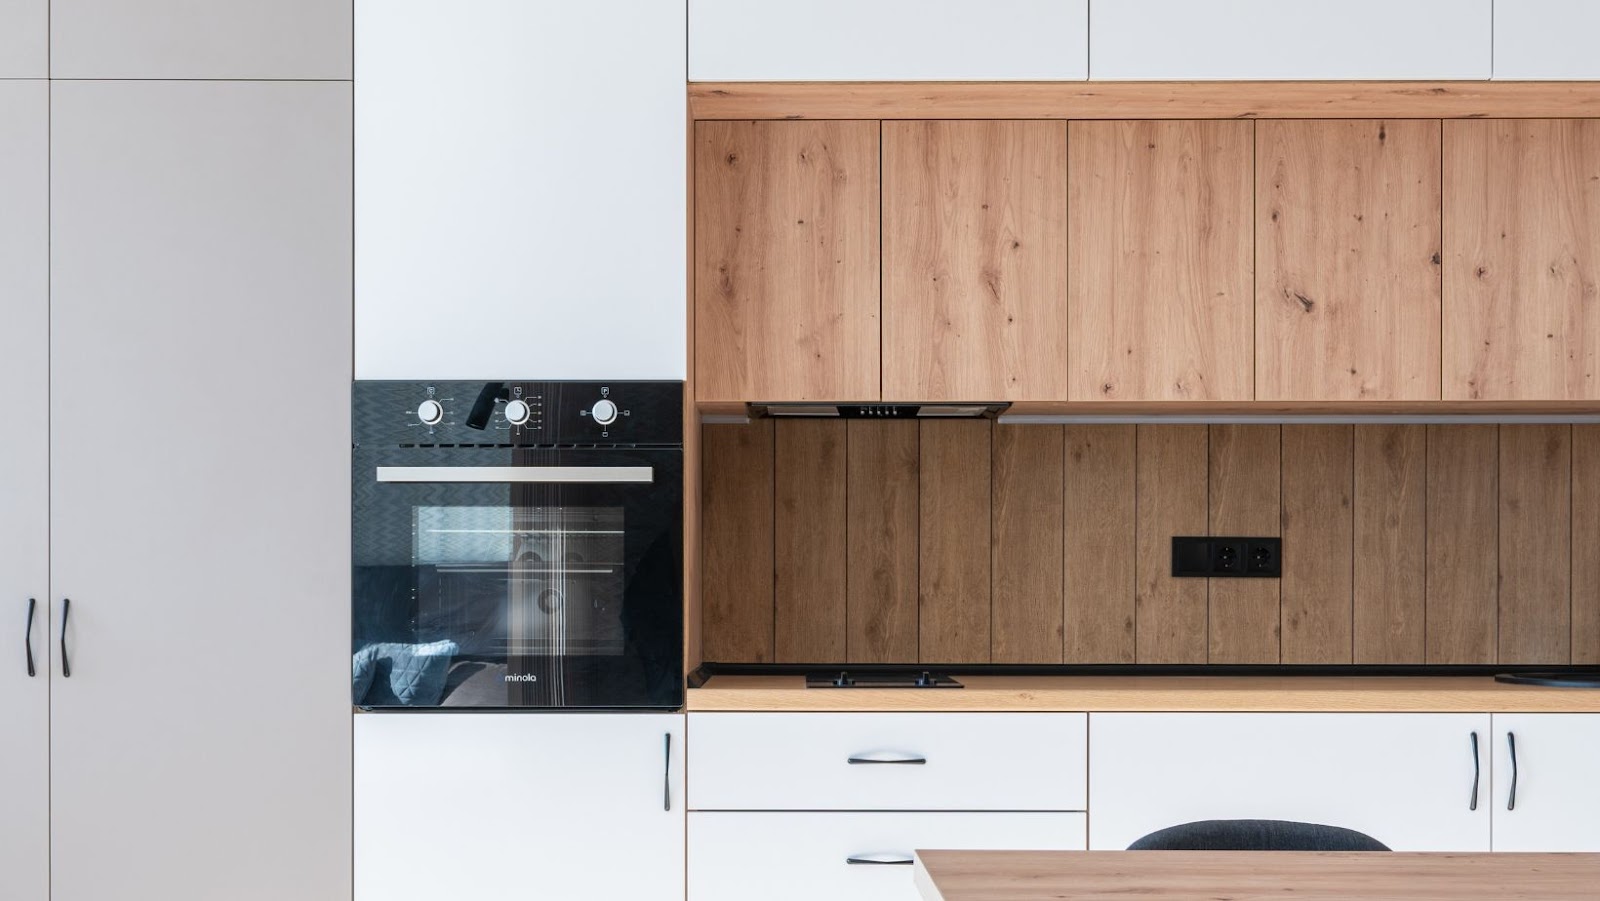
Finish: Paint comes in various finishes such as matte, satin, semi-gloss, and gloss. Matte finishes are ideal for hiding imperfections, while glossy finishes provide a smooth, durable surface that is easy to clean.
Color: Choose a color that complements your kitchen decor and personal taste.
Quality: Investing in high-quality paint will save you time and money in the long run. Look for paint that is fade-resistant, has good coverage, and dries quickly.
Before painting your cabinet doors, be sure to prepare them properly by cleaning, sanding, and priming them for the paint to adhere correctly. Pro Tip: Use a paint sprayer to achieve a smooth, professional-looking finish.
Painting the Cabinet Doors
Preparing your cabinet doors for painting is a crucial step in achieving a smooth and flawless finish. Here’s how you can do it:
1. Remove the cabinet doors and hardware, including knobs, hinges, and latches.
2. Clean the doors thoroughly with a degreaser solution to remove any dirt, oil, or grime. Rinse with water and let them dry completely.
3. Sand the doors lightly with a fine-grit sandpaper to create a rough surface that will better hold the paint. Wipe off any dust from sanding with a damp cloth.
4. Fill in any holes, cracks, or imperfections on the doors with wood filler, and let it dry completely before sanding it down. Repeat the process as needed.
5. Apply a primer to the doors to create a smooth and even base for the paint. Allow the primer to dry completely according to the manufacturer’s instructions.
6. Finally, apply the paint to the doors, allowing each coat to dry completely before applying the next one. Once the doors are dry, reattach the hardware and hang them back in place.
Pro tip: It’s best to work in a well-ventilated area with a respirator mask to avoid inhaling any fumes or particles from the sanding or painting process.
Finishing Touches
Preparing your cabinet doors for painting requires a few finishing touches to ensure that your paint job lasts and looks professional. Here are some essential steps to take when painting your cabinet doors:
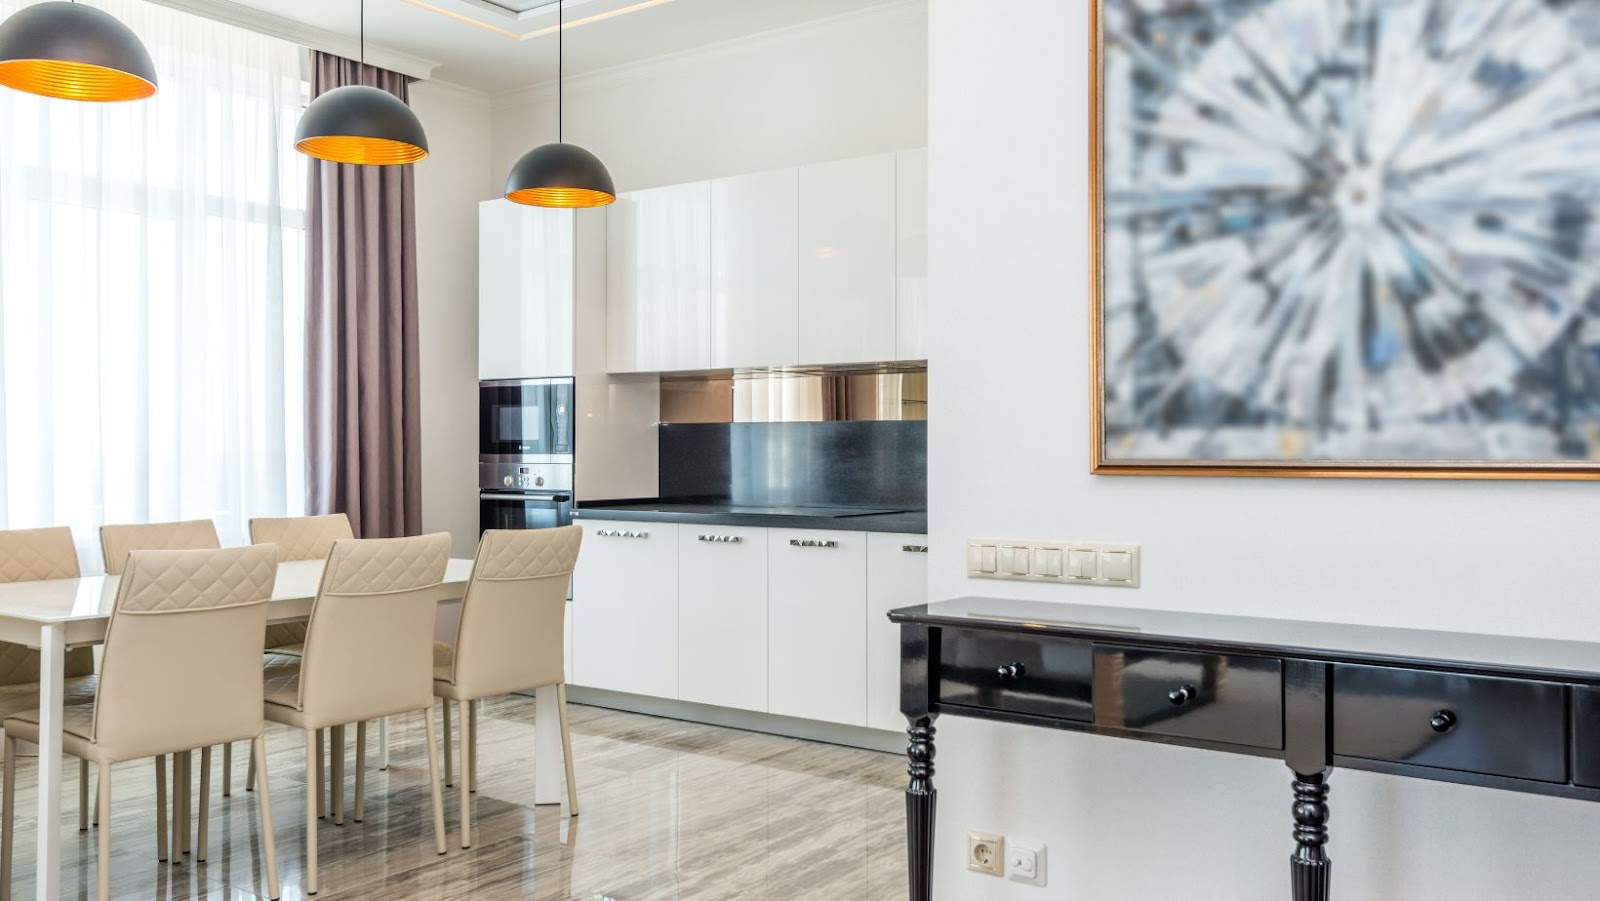
Sand the doors: rough up the surface of the doors with sandpaper to create a better surface for the paint to adhere to.
Clean the doors: Use soapy water or TSP (Trisodium Phosphate) to remove grease, dirt, and other contaminants from the doors before painting.
Prime the doors: Use a primer on the doors to create a base coat for the paint and help it adhere better to the surface of the door.
Paint the doors: Use a paintbrush or a paint sprayer to apply a smooth and even coat of paint to the cabinet doors. Apply multiple coats as needed, allowing ample time for each coat to dry before applying the next one.
Install hardware: Once the paint has dried, reattach any hardware or knobs to the cabinet doors.
With these simple finishing touches, your newly painted cabinet doors will look professional and last for years to come.
Maintenance and Care
If you want to give your kitchen a fresh new look, painting your cabinet doors can do wonders. However, before you start painting, it’s important to prepare the doors by cleaning and sanding them properly, and using the right tools and materials.
Here are the steps to follow:
1. Remove the cabinet doors from the frames and hardware from the doors.
2. Label the doors and hardware to keep track of which goes where.
3. Clean the doors thoroughly, removing any grease or debris with a degreaser or vinegar solution.
4. Sand the doors with fine-grit sandpaper to create a smooth surface for the paint to adhere to.
5. Fill any holes or cracks with wood filler and sand them smooth once dry.
6. Prime the doors with a high-quality primer to ensure the paint will stick and to prevent any stains or wood tannins from bleeding through.
7. Paint the doors with multiple coats of paint, allowing each coat to dry completely before adding the next.
Remember to use a clean and dust-free workspace and high-quality brushes, rollers, and paint for the best results.
Pro Tip: For a professional-looking finish, consider using a sprayer instead of a brush or roller to apply the paint.

 The Benefits Of Outdoor Sofa Deep Seating
  This Method has Been Used for Centuries
  The Different Types of Bonds
  Solar Panel Cost And Efficiency
  The Most Comfortable Deep Seating Outdoor Furniture
  Maintaining Your Glass Cabinet Doors