Preparing The Trash Can
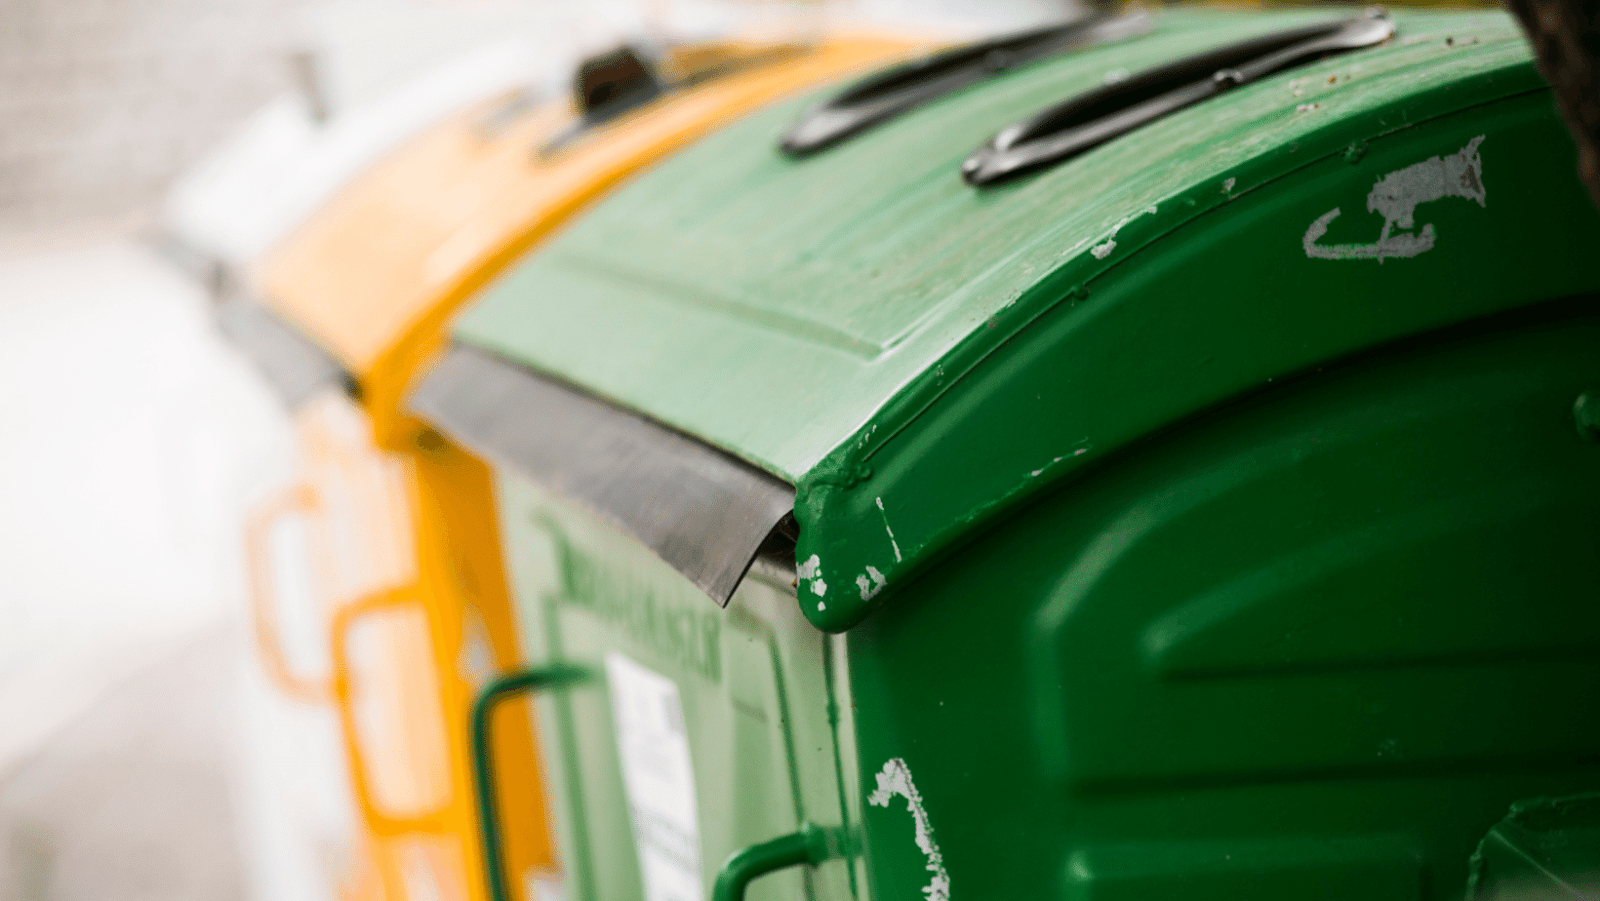
Have you ever wanted to transform a trash can into something beautiful and unique? You’ll be surprised at how easy it is to turn a trash can into a DIY planter!
This article will show you how to easily transform your trash can from an eyesore into a stylish planter, perfect for any outdoor area. Let’s get started and give your backyard the transformation it deserves!
Introduction
Preparing the trash can for your DIY trash can planters is a crucial step to ensure that your plants grow healthy and strong. Before you start planting, it’s important to clean and sanitize the can to remove any dirt, debris, or harmful substances that may harm your plants.
Here are the steps to follow:
1. Clean the interior and exterior of the trash can using a mild detergent and warm water. Rinse thoroughly and let the can dry completely.
2. Drill drainage holes at the bottom of the can to prevent waterlogging and root rot.
3. Line the bottom of the can with a layer of rocks or gravel to improve drainage and prevent soil from escaping through the drainage holes.
4. Fill the can with high-quality potting mix, leaving enough space at the top to accommodate your plants.
By following these steps, you can create a healthy and durable planter out of an item that would otherwise have ended up in the landfill.
Choosing the Right Trash Can
Choosing the right trash can is the first and most important step in preparing a trash can planter for your home garden.
When it comes to selecting a trash can to use as a planter, there are a few factors to consider:
- Size: Trash cans come in various sizes, so it’s important to choose one that is appropriate for the plants you wish to grow.
- Material: Trash cans are commonly made of plastic or metal. Plastic cans are lighter and easier to move around, while metal cans are more durable and weather-resistant.
- Drainage: Make sure the trash can has drainage holes or can be easily drilled to create them.
- Handle: Look for a can with handles for easier movement and transport.
Once you have selected the right trash can, you can prepare it for planting by adding soil, compost, and your desired plants. With DIY trash can planters, you can give your home garden a unique and rustic twist while reusing old materials and saving money.
DIY Trash Can Planters
A trash can planter is a great way to grow plants when you have limited space in your home or backyard. To prepare the trash can for planting, follow these simple steps:
Clean the trash can thoroughly with soap and water and let it dry completely.
Drill drainage holes in the bottom of the trash can to prevent water from pooling at the bottom.
Line the bottom of the trash can with a layer of gravel or small rocks to improve drainage.
Add a layer of weed cloth or landscape fabric on top of the gravel to prevent soil from clogging the drainage holes.
Fill the trash can with a high-quality potting soil, leaving about two inches of space at the top.
Finally, sow your chosen seeds or plant your seedlings according to the seed packet instructions.
Pro-tip: To make your planters even more attractive, consider spray-painting them in a bright color or covering them with patterned contact paper.
Adding Drainage Holes
If you want to turn a trash can into a planter, it is essential to provide adequate drainage. The good news is that you can add drainage holes to your trash can quickly and inexpensively.
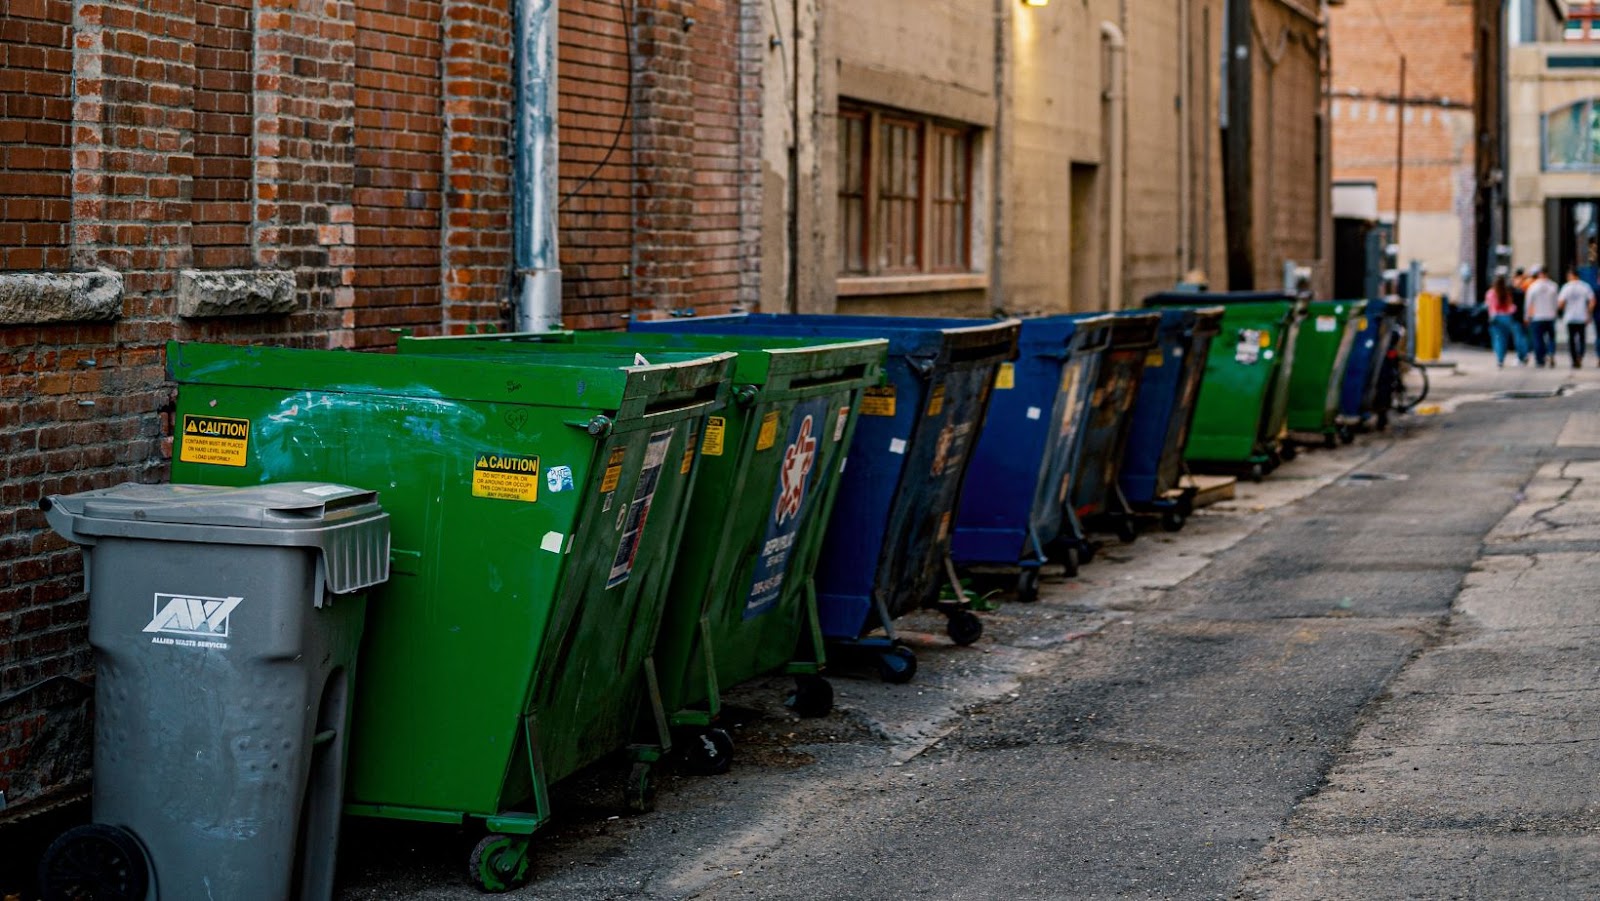
Here’s what you need to do:
Turn the trash can upside down and drill 4-6 holes into the bottom with a drill bit. If your trash can is made of thin plastic or metal, a regular drill bit should suffice. For thicker materials such as plastic barrels, use a spade or hole saw bit.
Space the holes equally apart to ensure even drainage.
You can also drill a few small holes around the sides of the can for additional drainage.
Once you’ve added drainage holes, fill the bottom of the can with gravel or rocks to prevent soil from clogging the holes.
Finally, add a layer of landscape fabric on top of the gravel to keep soil in place and prevent weeds from growing. Now your trash can planter is ready for soil and planting!
Adding Soil and Plants
Making your own trash can planters is an affordable way to add greenery to your outdoor space, and preparing the trash cans is a crucial step to ensure the plants thrive.
Here’s how to prepare the trash can for planting:
Clean the trash can thoroughly with soap and water, and let it dry completely.
Drill drainage holes in the bottom of the can to prevent water from pooling and drowning the plants.
Fill the bottom of the can with a layer of rocks or gravel to promote drainage.
Add a layer of potting soil on top of the rocks, and mix in some compost or fertilizer for added nutrients.
Choose your plants and arrange them in the trash can, adding more soil as needed to keep them secure and covered.
Water the plants thoroughly, making sure the soil is moist but not waterlogged.
Place the trash can planter in a sunny spot, and watch your plants grow!
Maintaining the Trash Can Planter
Creating a DIY trash can planter not only saves money but also brings life to your balcony or backyard. Once you have your trash can planter, follow these steps to maintain it:
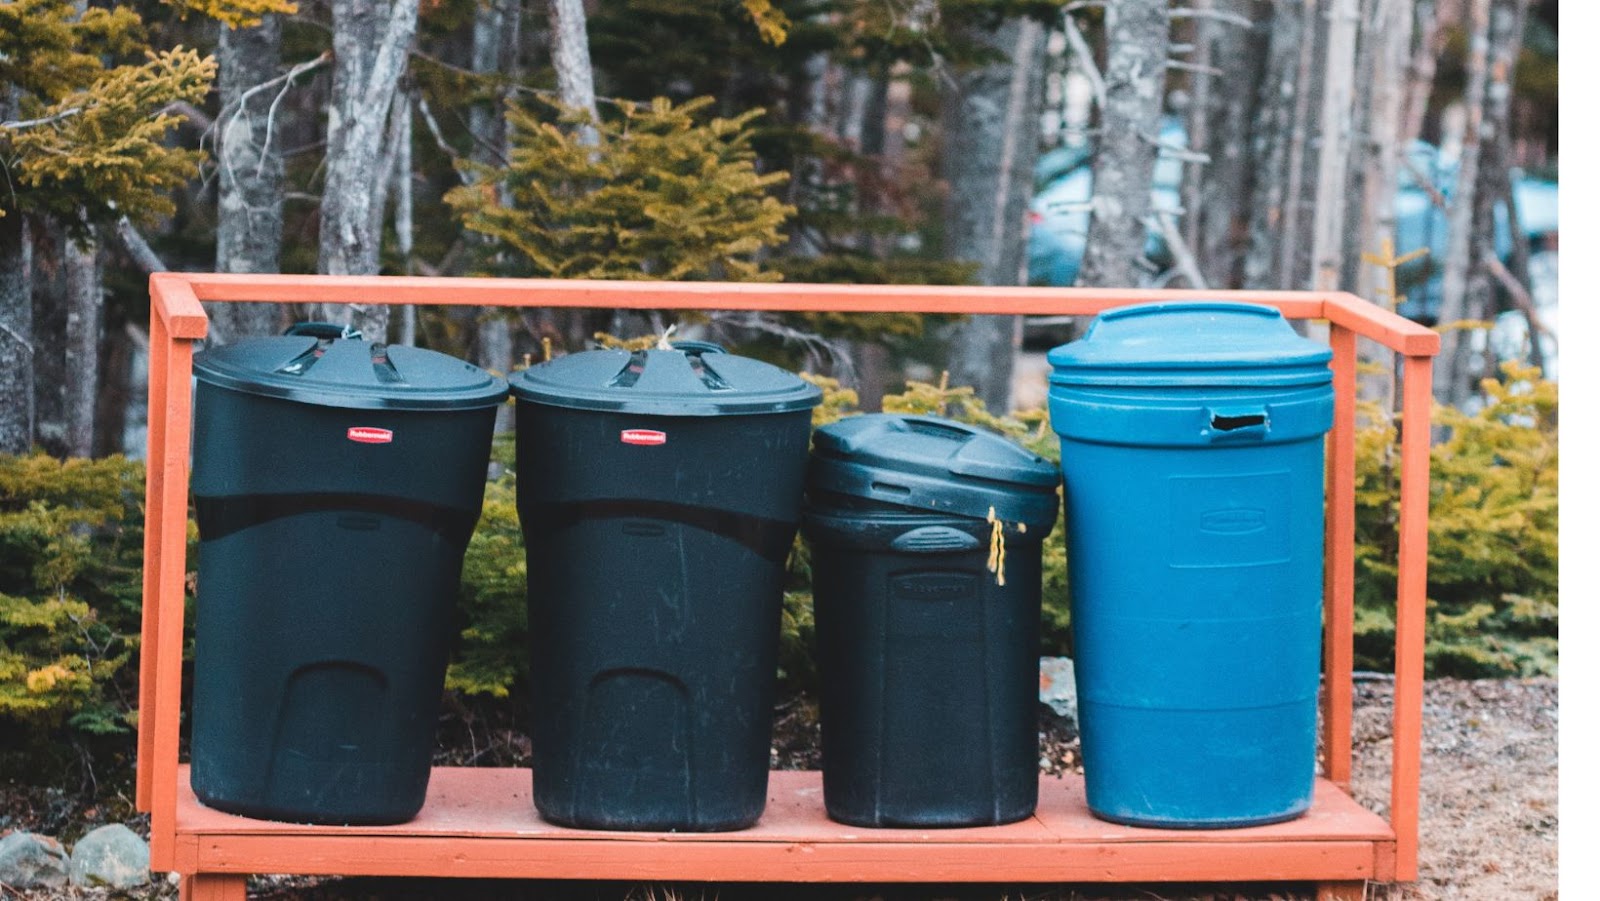
1. Ensure proper drainage by drilling holes at the bottom of the trash can.
2. Add a layer of gravel or small rocks at the bottom of the container to improve soil drainage.
3. Fill the container with a high-quality potting mix, leaving enough space to plant your flowers or vegetables.
4. Water the plants regularly and fertilize them every few weeks with a plant food of your choice.
5. Keep an eye out for pests and diseases and treat them promptly to prevent further damage.
By following these simple steps, your trash can planter will thrive and add a beautiful touch to your space.
Troubleshooting Common Issues
Preparing a trash can planter is a fun DIY project that transforms your unwanted trash cans into beautiful planters. However, you may encounter some common issues during the preparation process. Here are some tips to help you troubleshoot:
Issue 1: Rusty trash cans – Sand the rusty areas and apply a rust converter spray before painting the can.
Issue 2: Drainage problems – Drill drainage holes at the bottom of the trash can to prevent waterlogging.
Issue 3: Soil compatibility – Use a high-quality potting mix to ensure your plants receive the necessary nutrients and moisture.
Issue 4: Cleaning – Thoroughly clean the trash can with warm water and soap before painting or planting to avoid any harmful chemicals.
By following these simple steps, you can easily overcome any obstacles and create beautiful and functional trash can planters for your home.
Pro Tip: Repurpose old tires or barrels as containers for your garden for a unique look.
Conclusion
In conclusion, transforming your trash can into a planter is a unique and affordable way to elevate your garden’s aesthetic appeal. With just a few simple steps, you can repurpose an old or unused trash can and turn it into a beautiful planter that will hold your favorite plants and flowers.
Here are the steps to follow to prepare your trash can planter:
Clean the trash can thoroughly and make sure it has drainage holes in the bottom.
Add a layer of rocks at the bottom of the can to promote drainage, followed by a layer of soil and compost mix.
Plant your favorite flowers and plants in the prepared soil, water them adequately, and place them in the desired location.
With this DIY project, you can create a unique and budget-friendly planter while reducing your carbon footprint by repurposing an old item. So get your hands dirty and let your creativity flourish!

 The Benefits Of Outdoor Sofa Deep Seating
  This Method has Been Used for Centuries
  The Different Types of Bonds
  Solar Panel Cost And Efficiency
  The Most Comfortable Deep Seating Outdoor Furniture
  Maintaining Your Glass Cabinet Doors